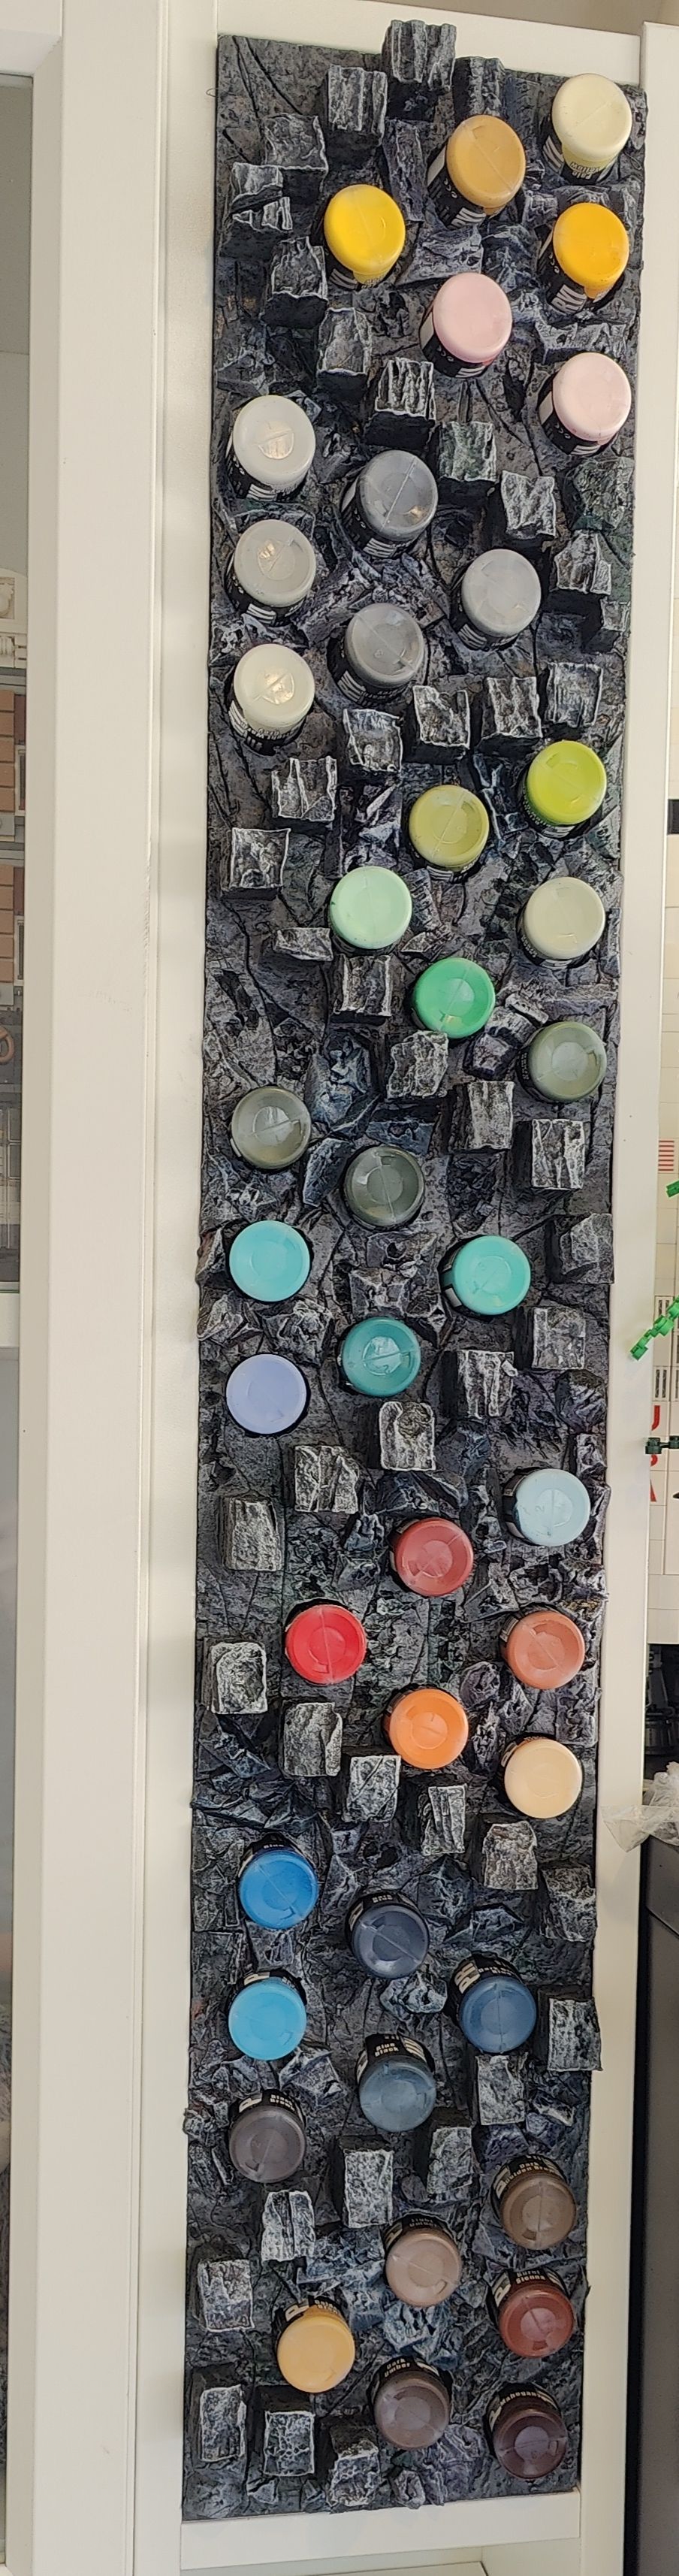
Miniature Paint Storage Mountain

We recently ordered some new mini paints that the two of us will share in the hobby room. To make sure we can both get to them when we need to, I thought about putting them in the wall units. Making this more of an attraction I decided to build a rock wall with steps, a bit like the hobbits climbing up to the entrance of Erebor.
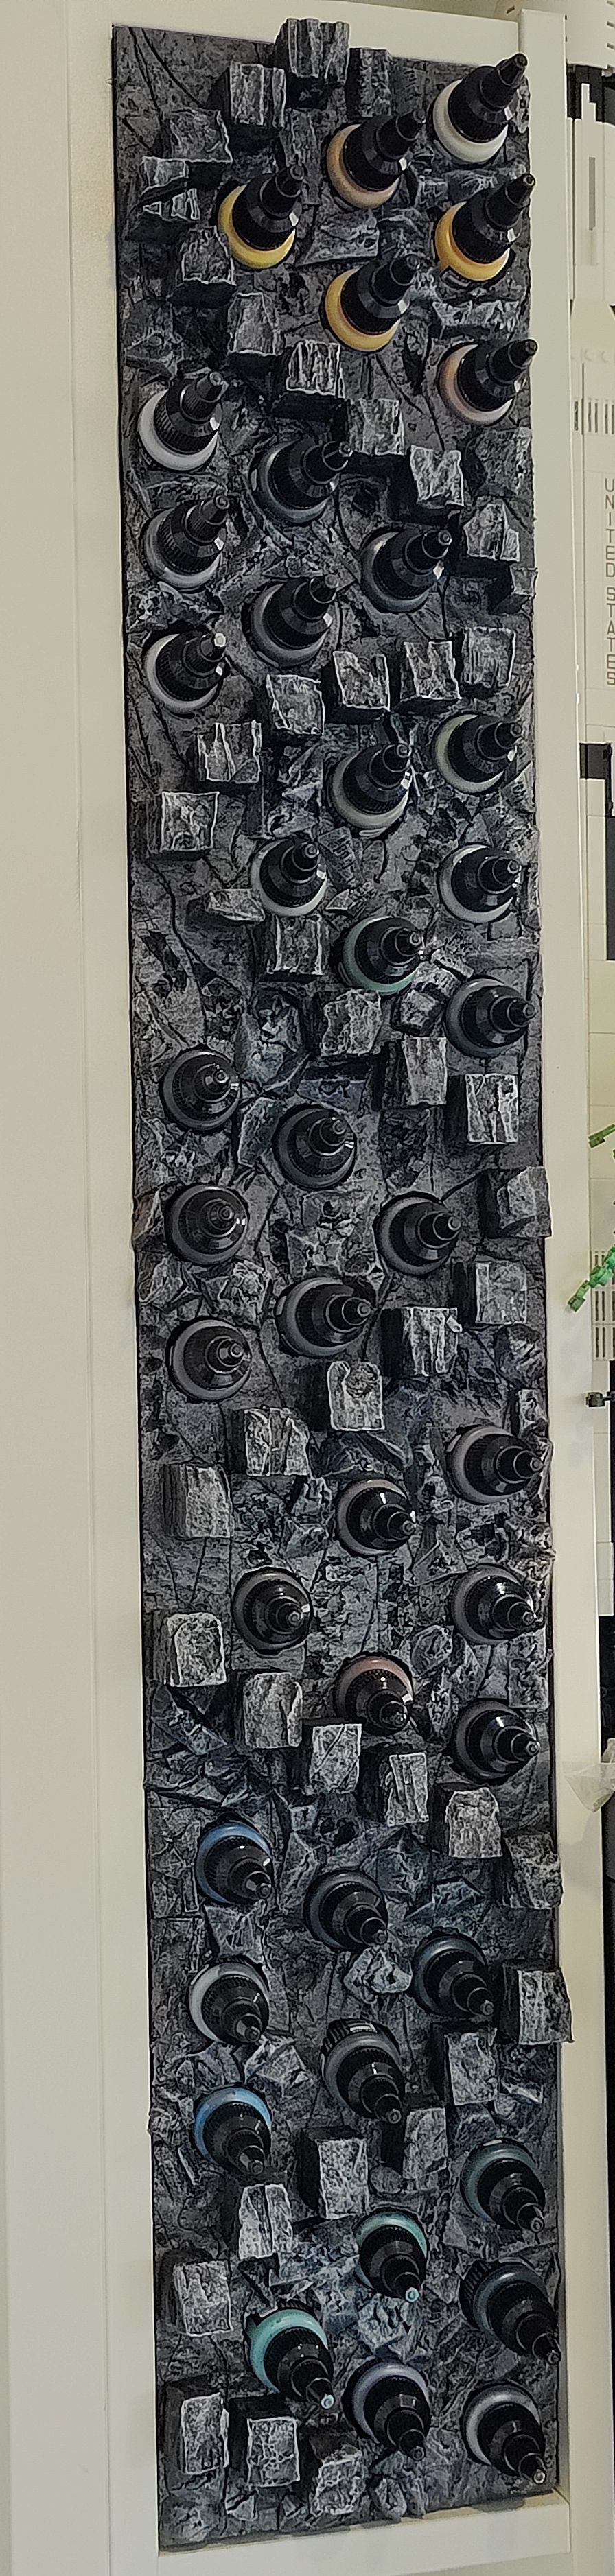
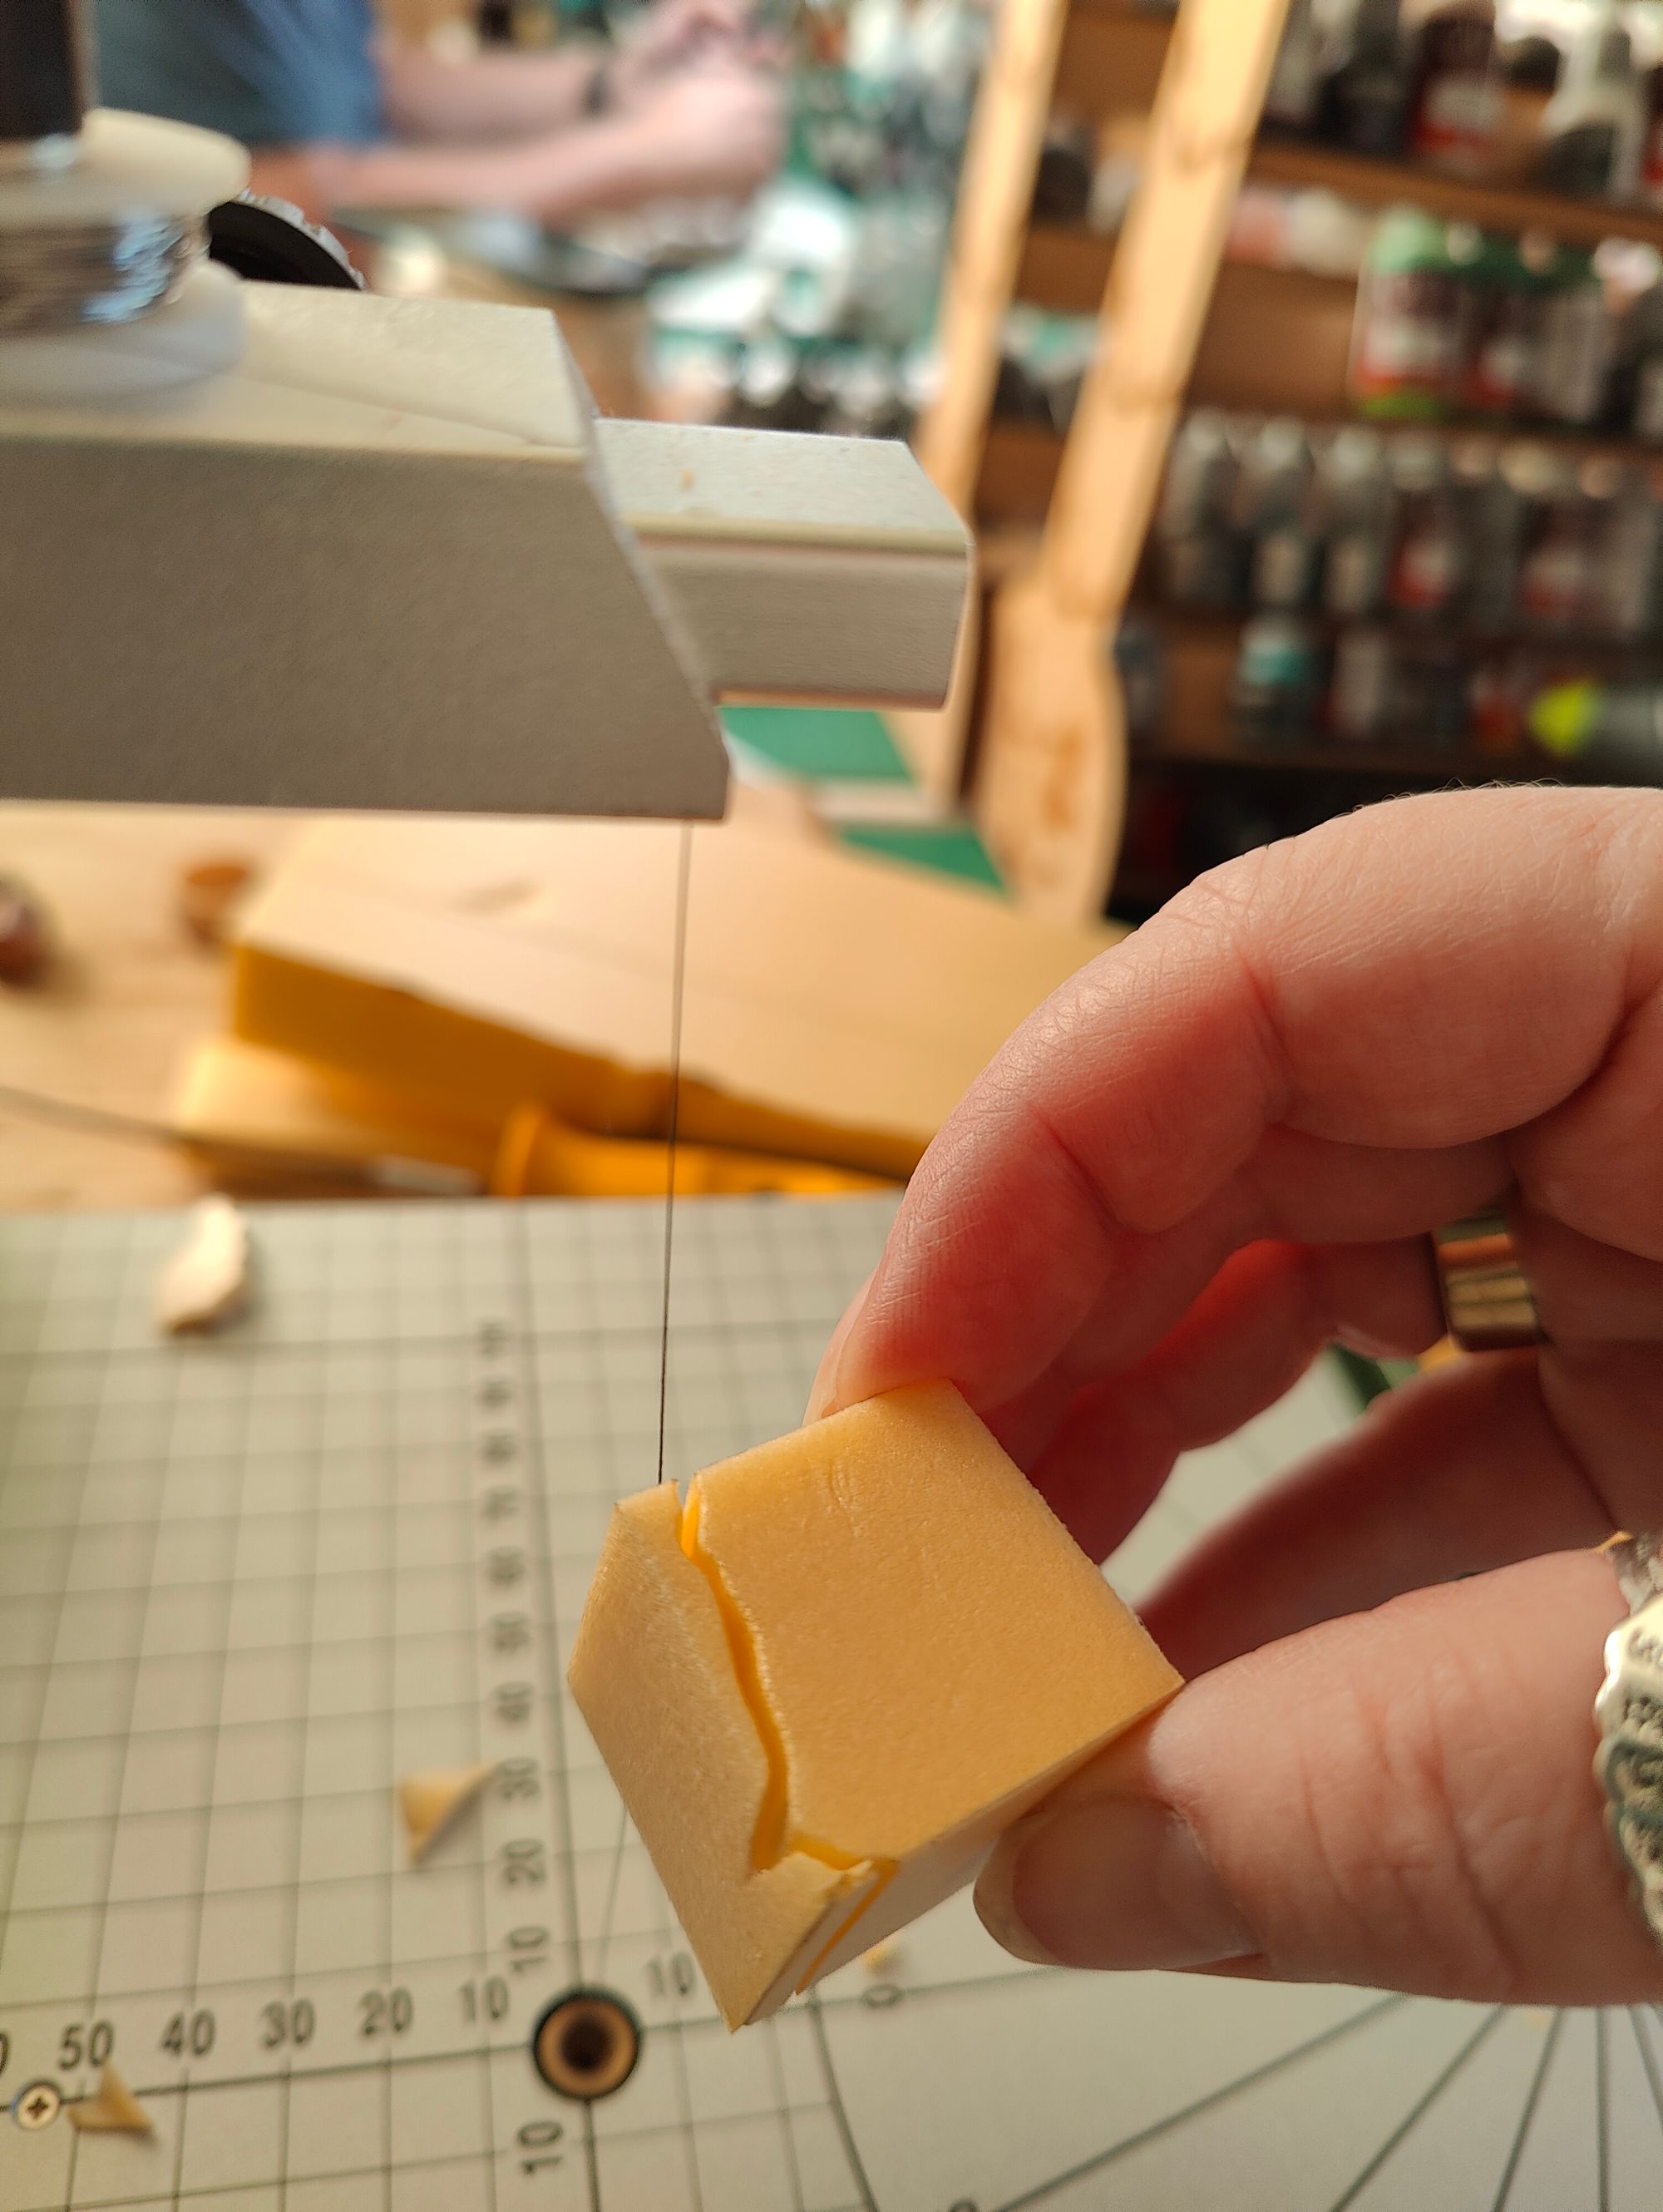
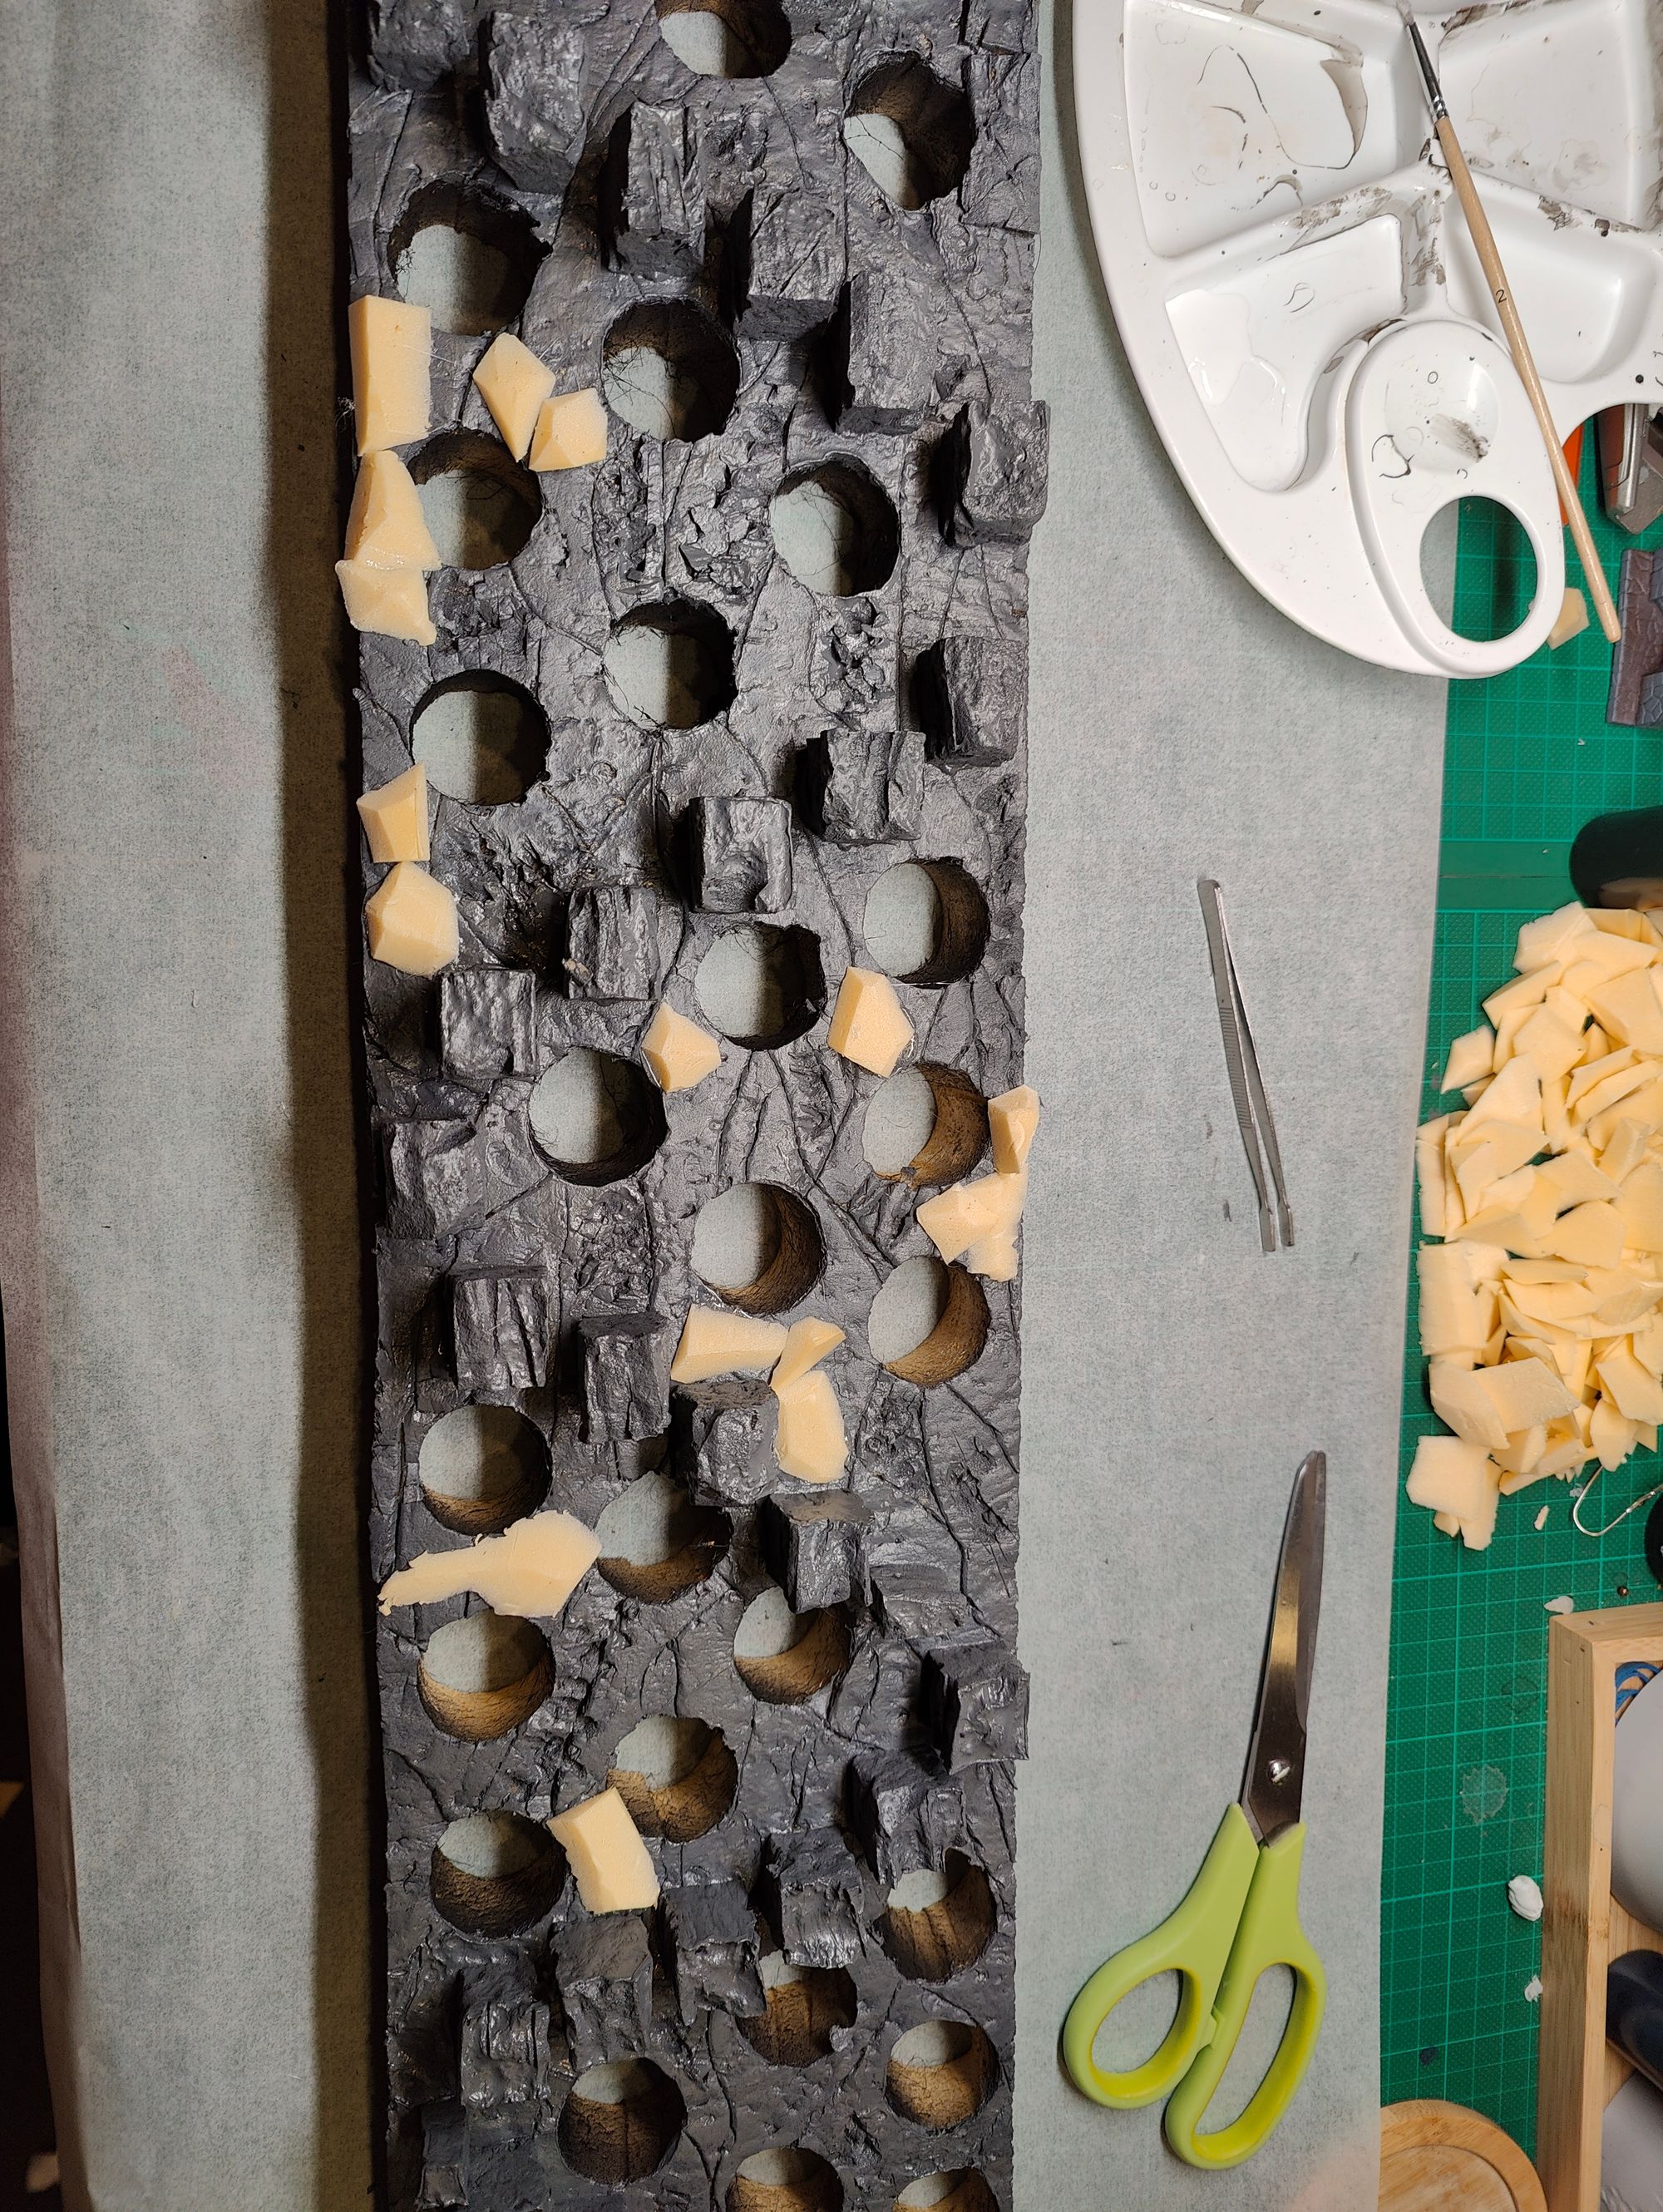
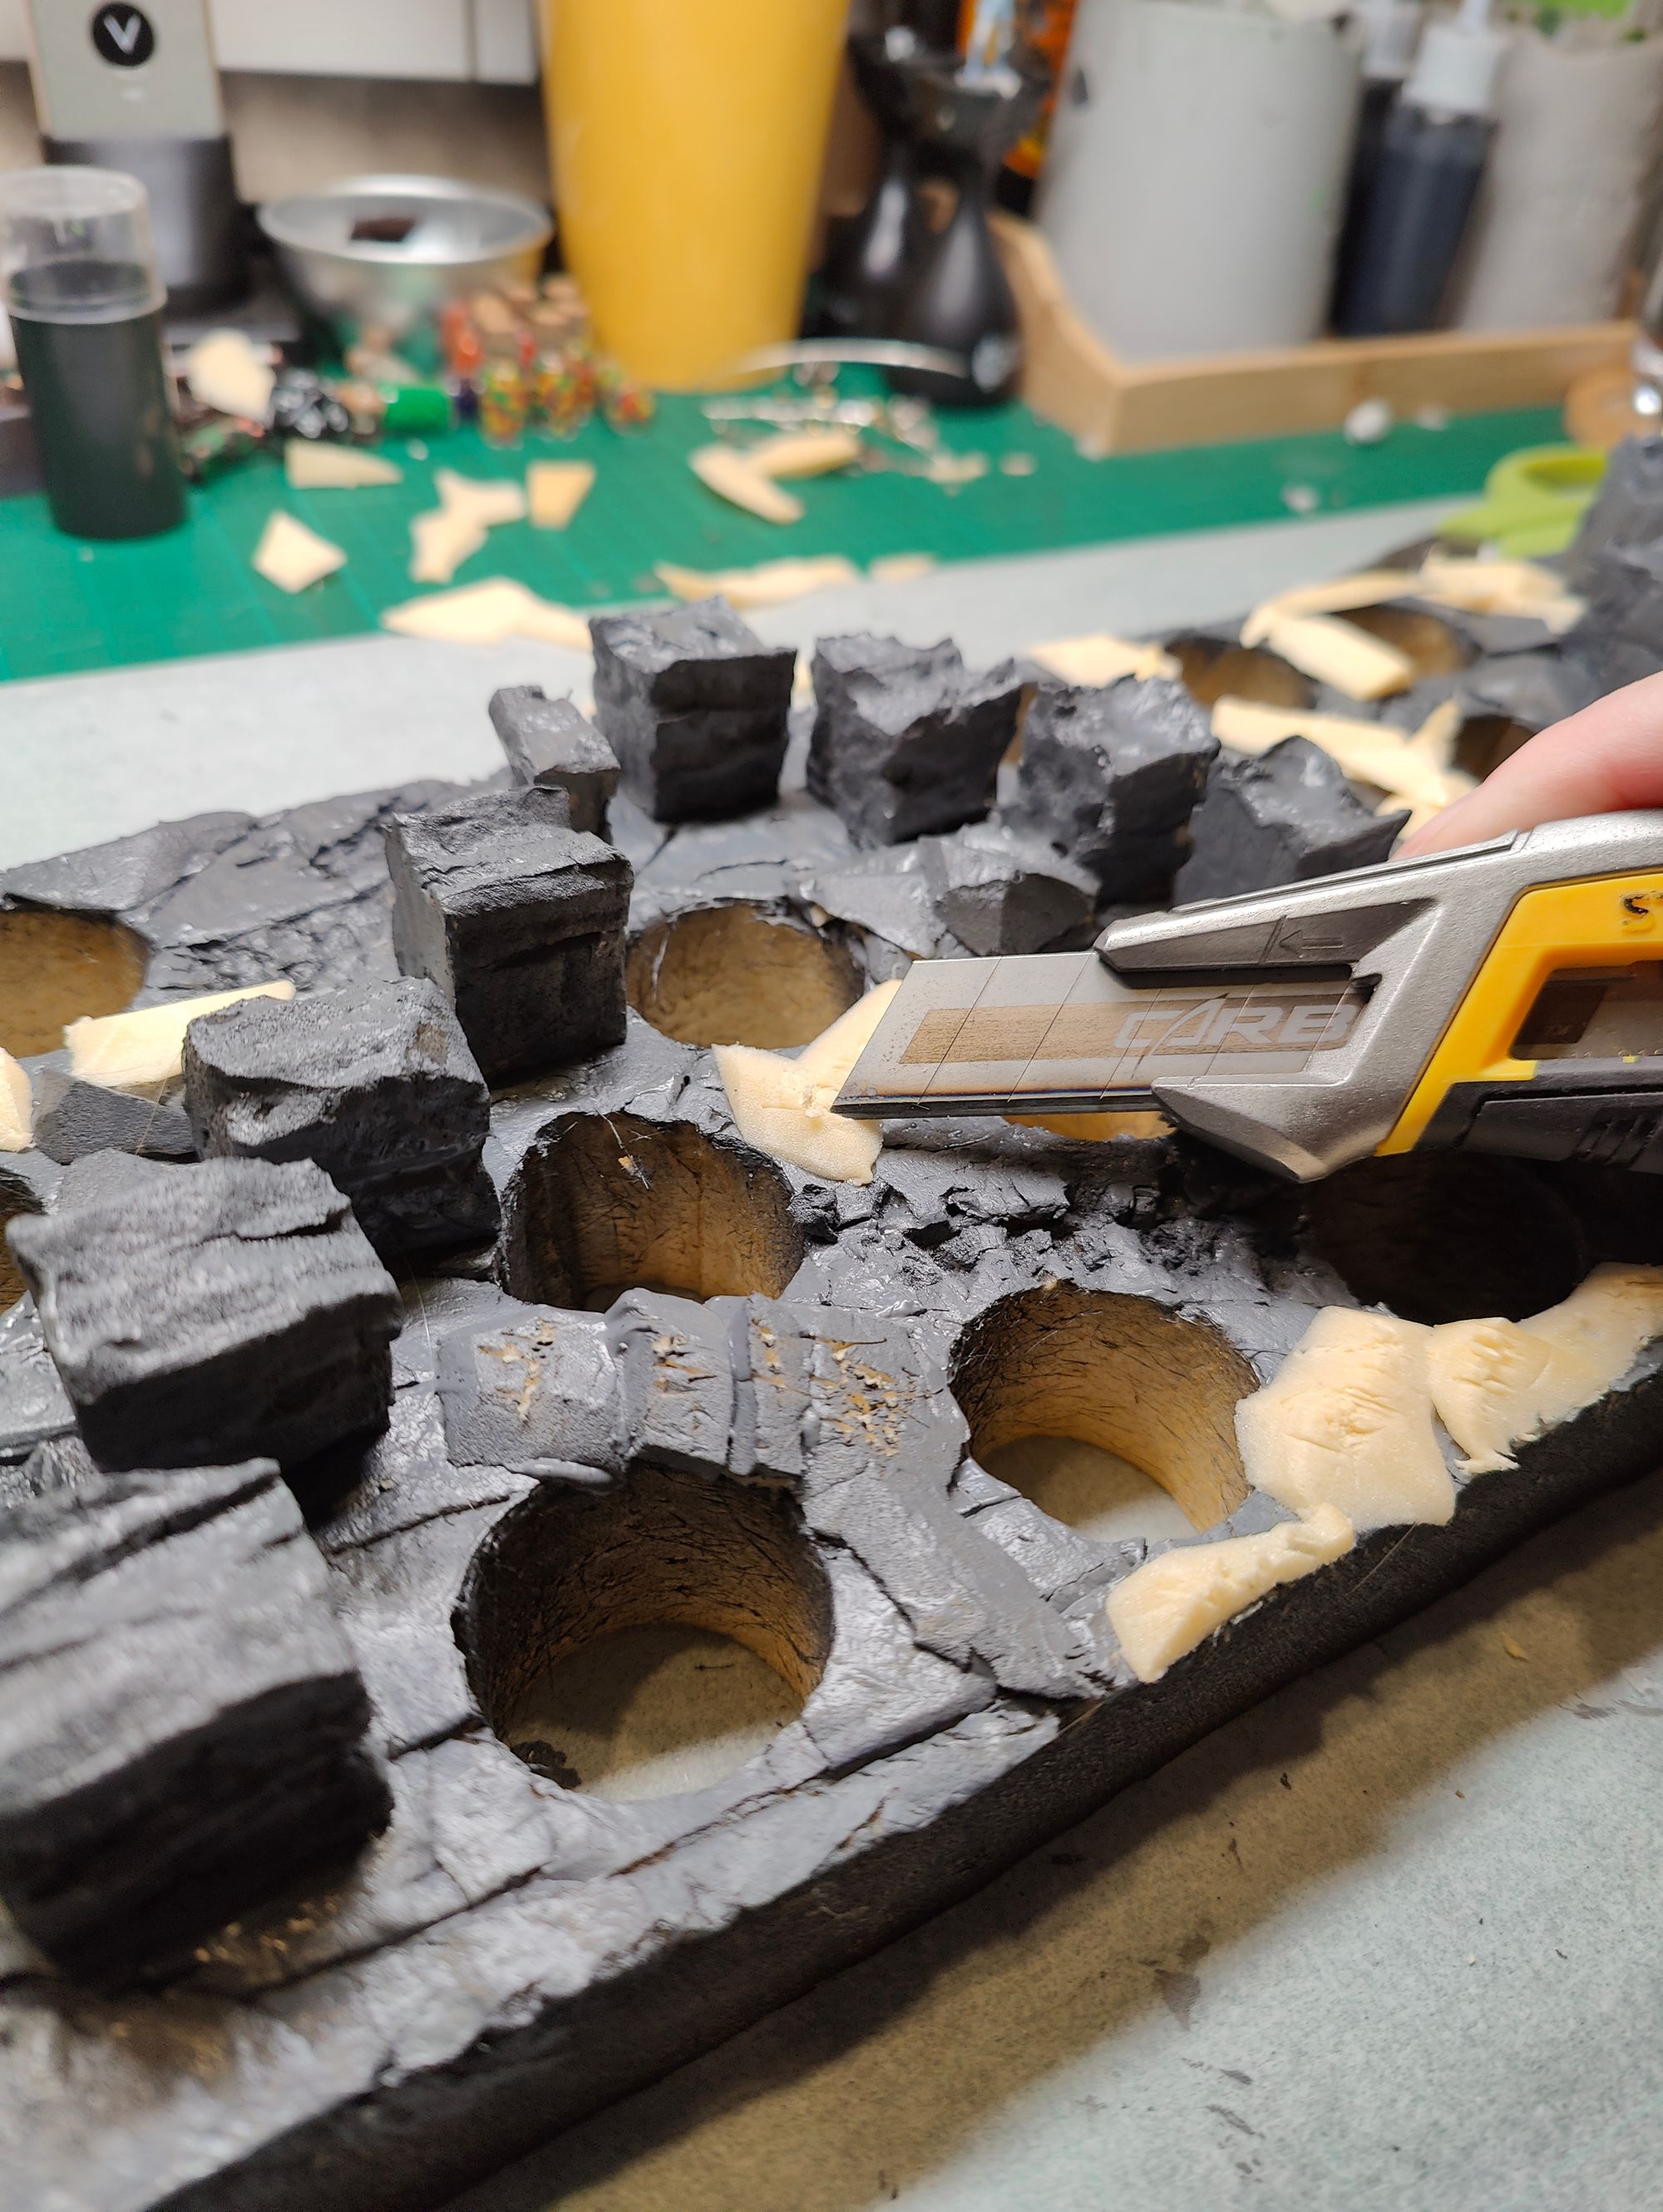
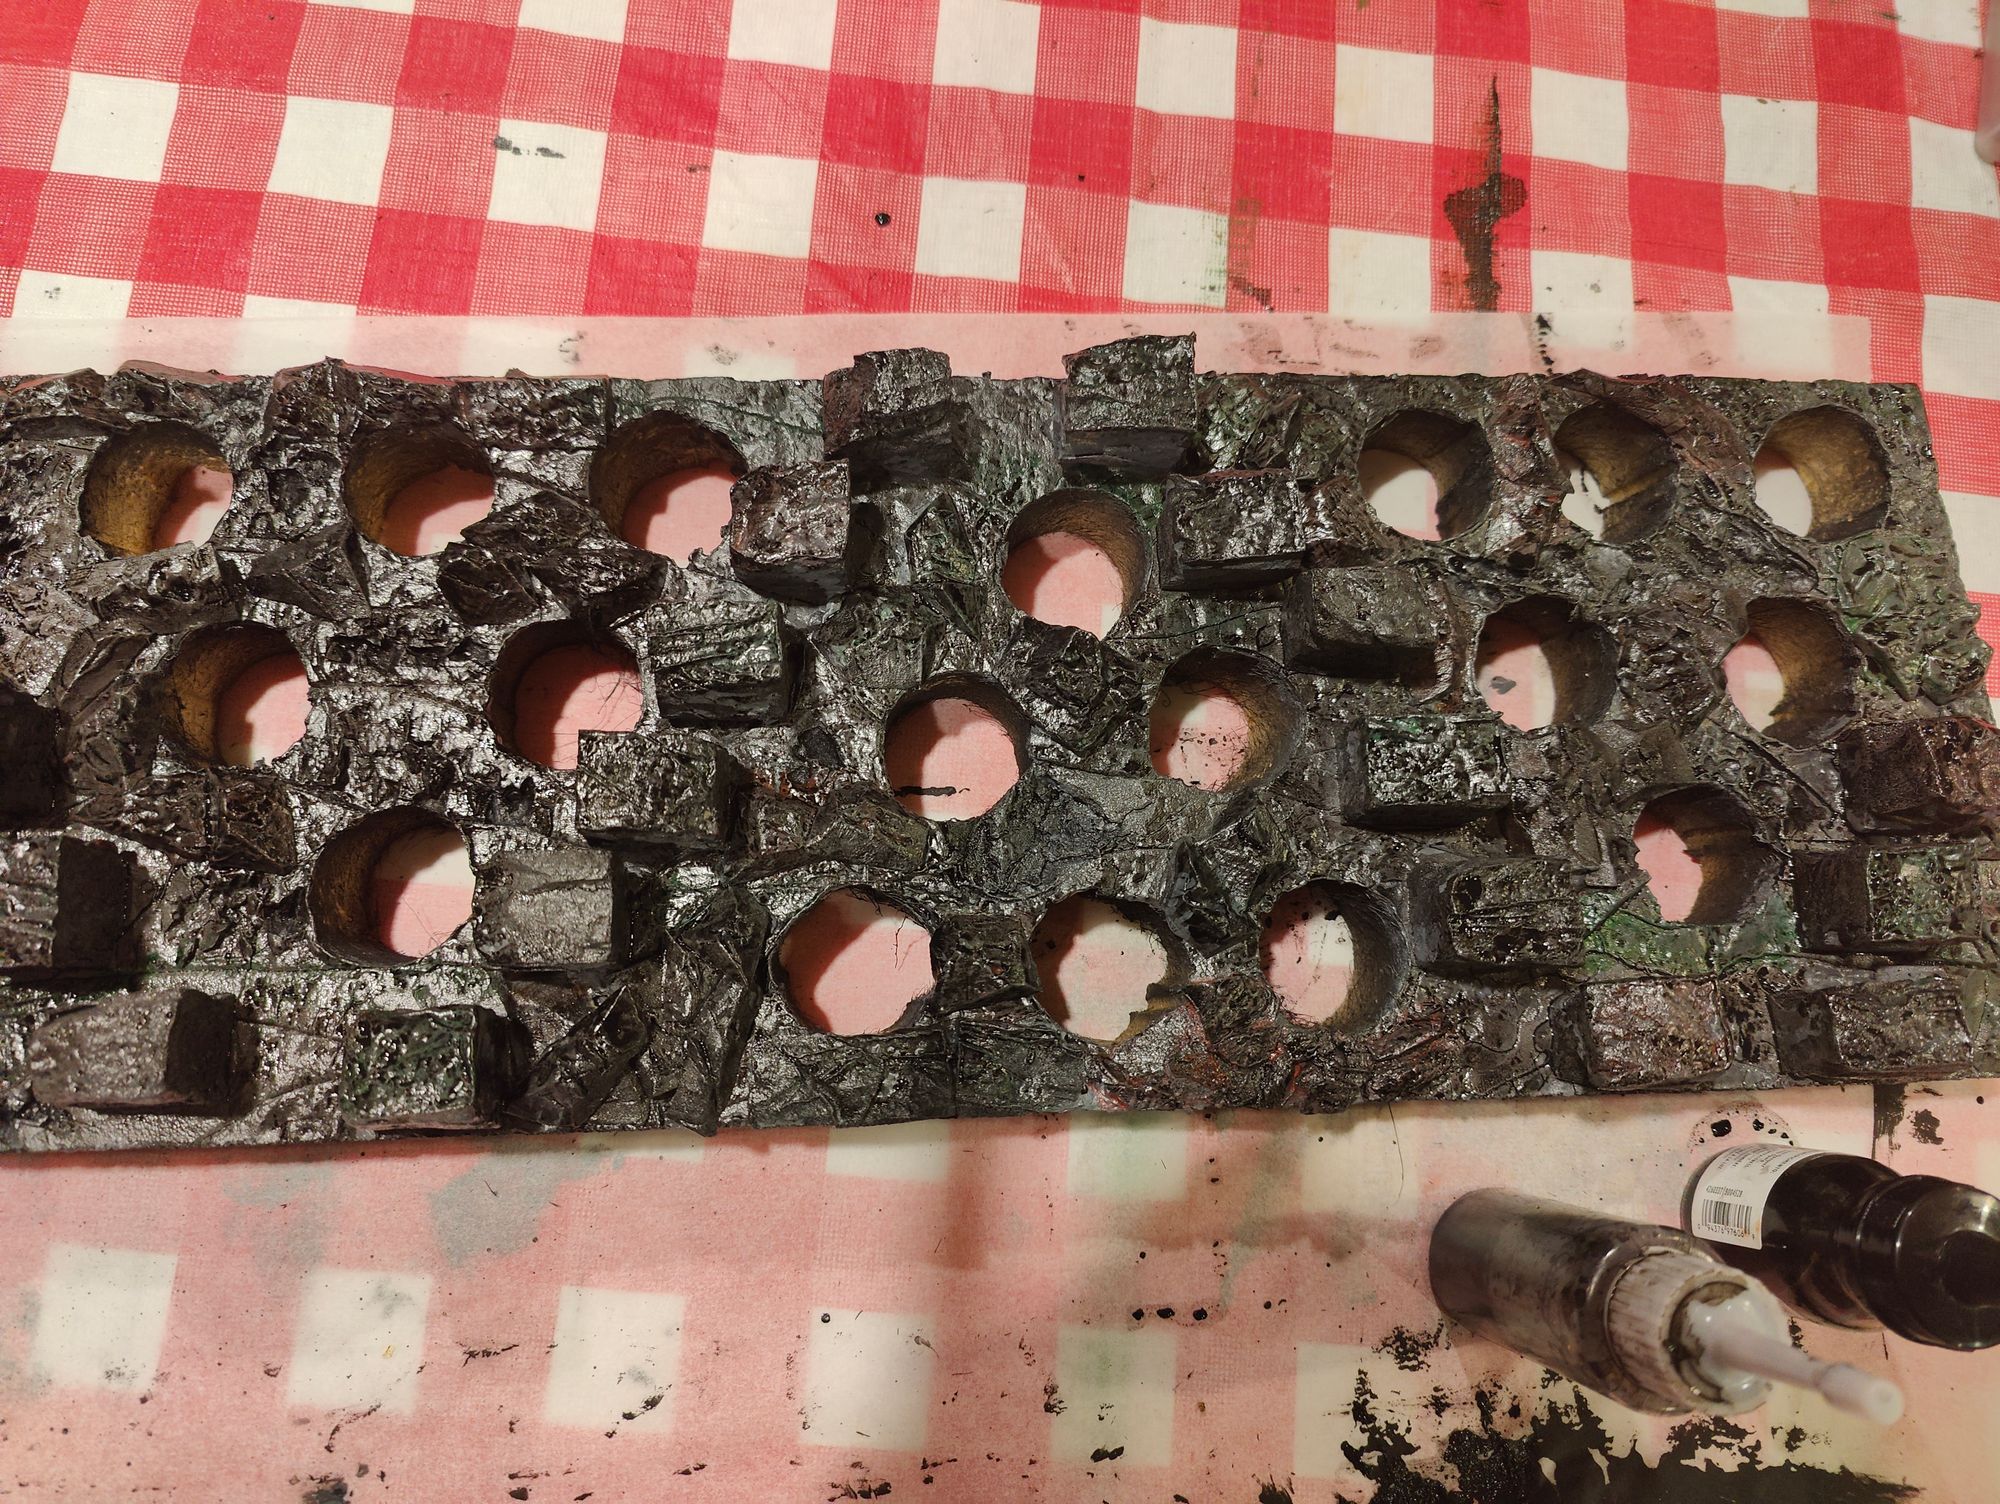
After cutting a piece of XPS foam to fit the half of the Ikea Gnedby above the fixed shelf I lined the paint bottles up in groups resembling small pyramids on their sides. Drawing around the bases in pencil I cut the holes with a single wire hot wire cutter.

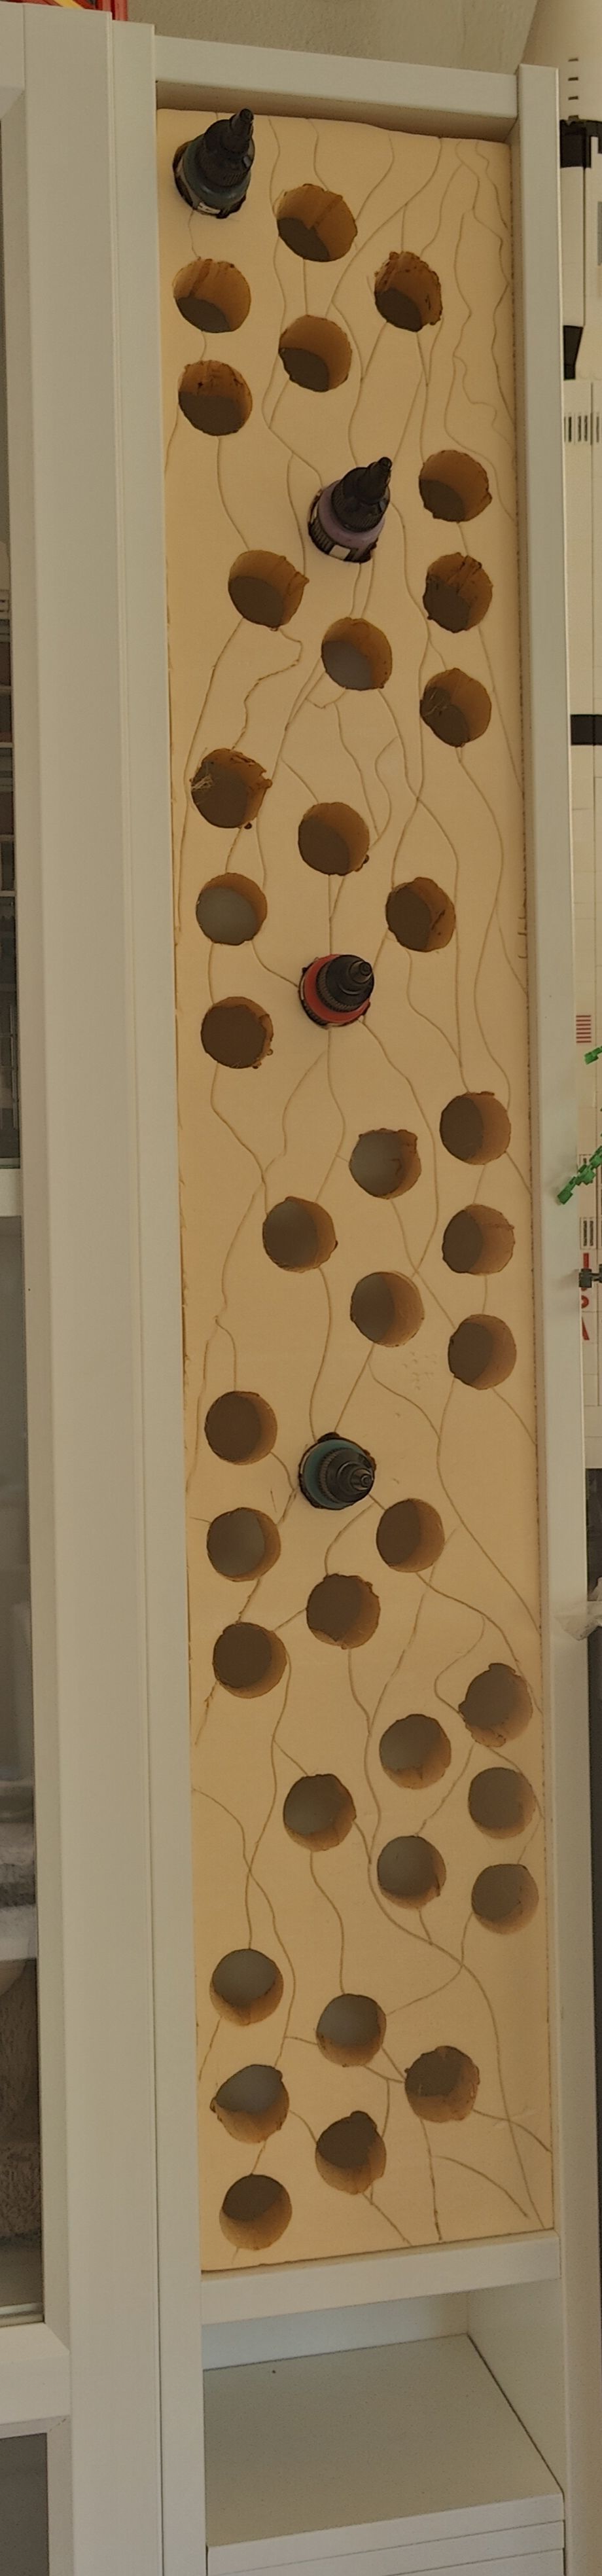
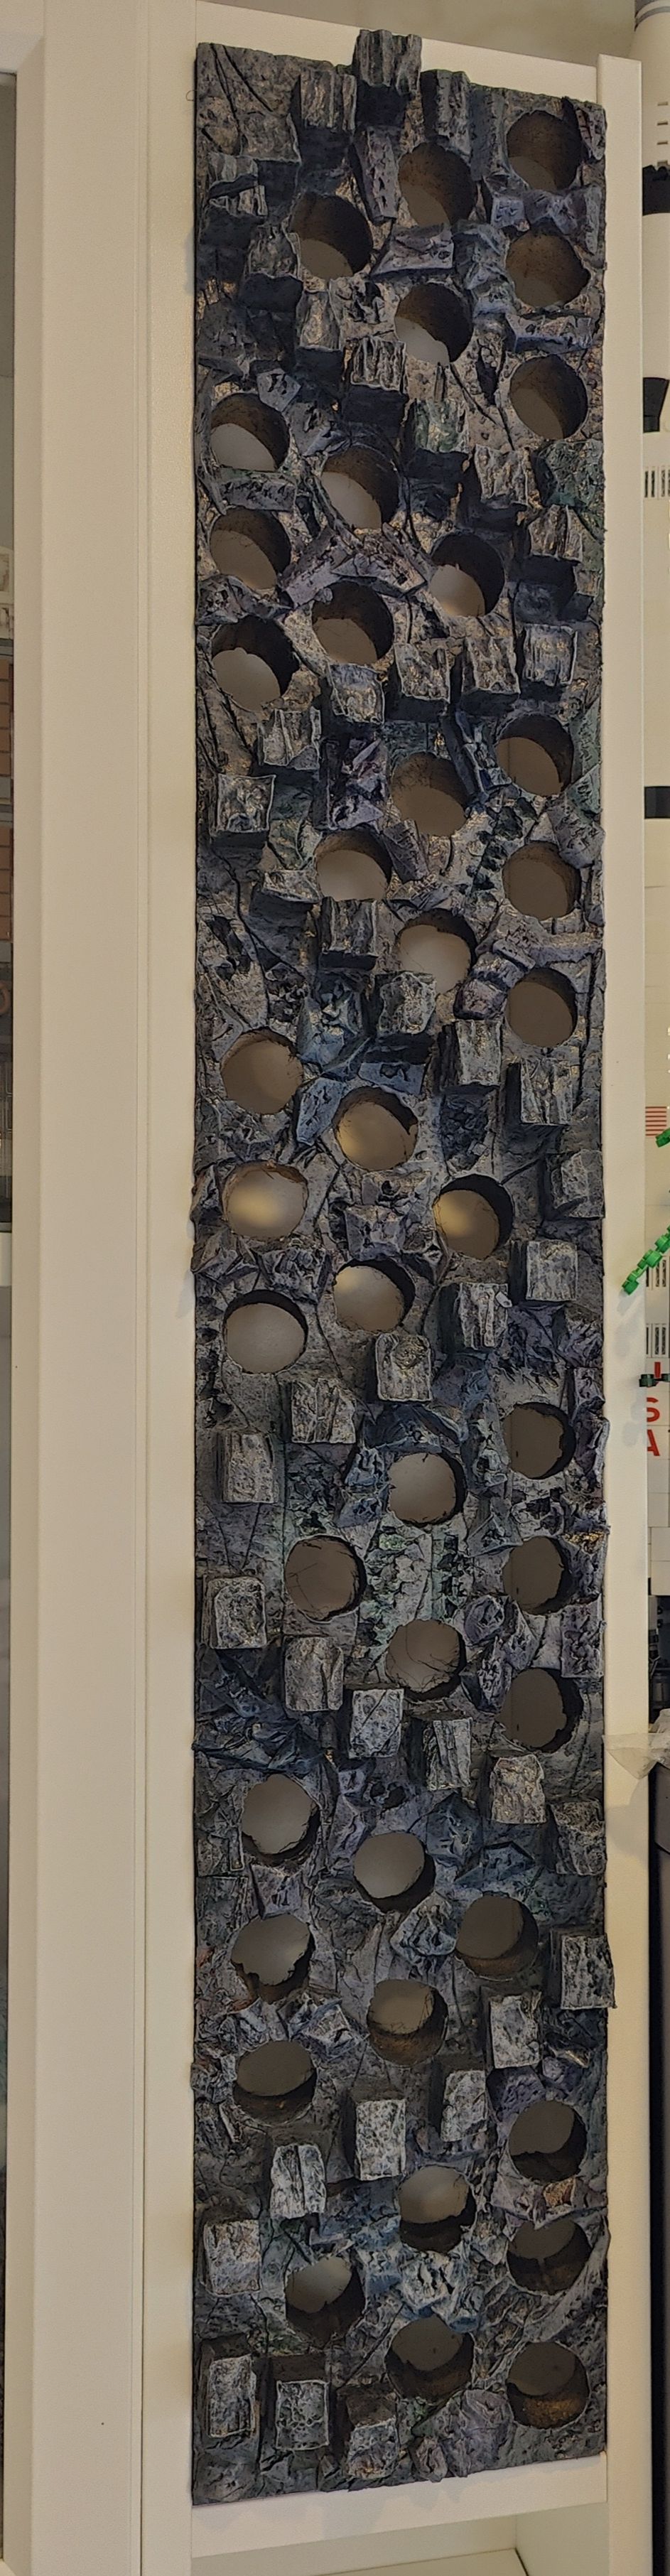
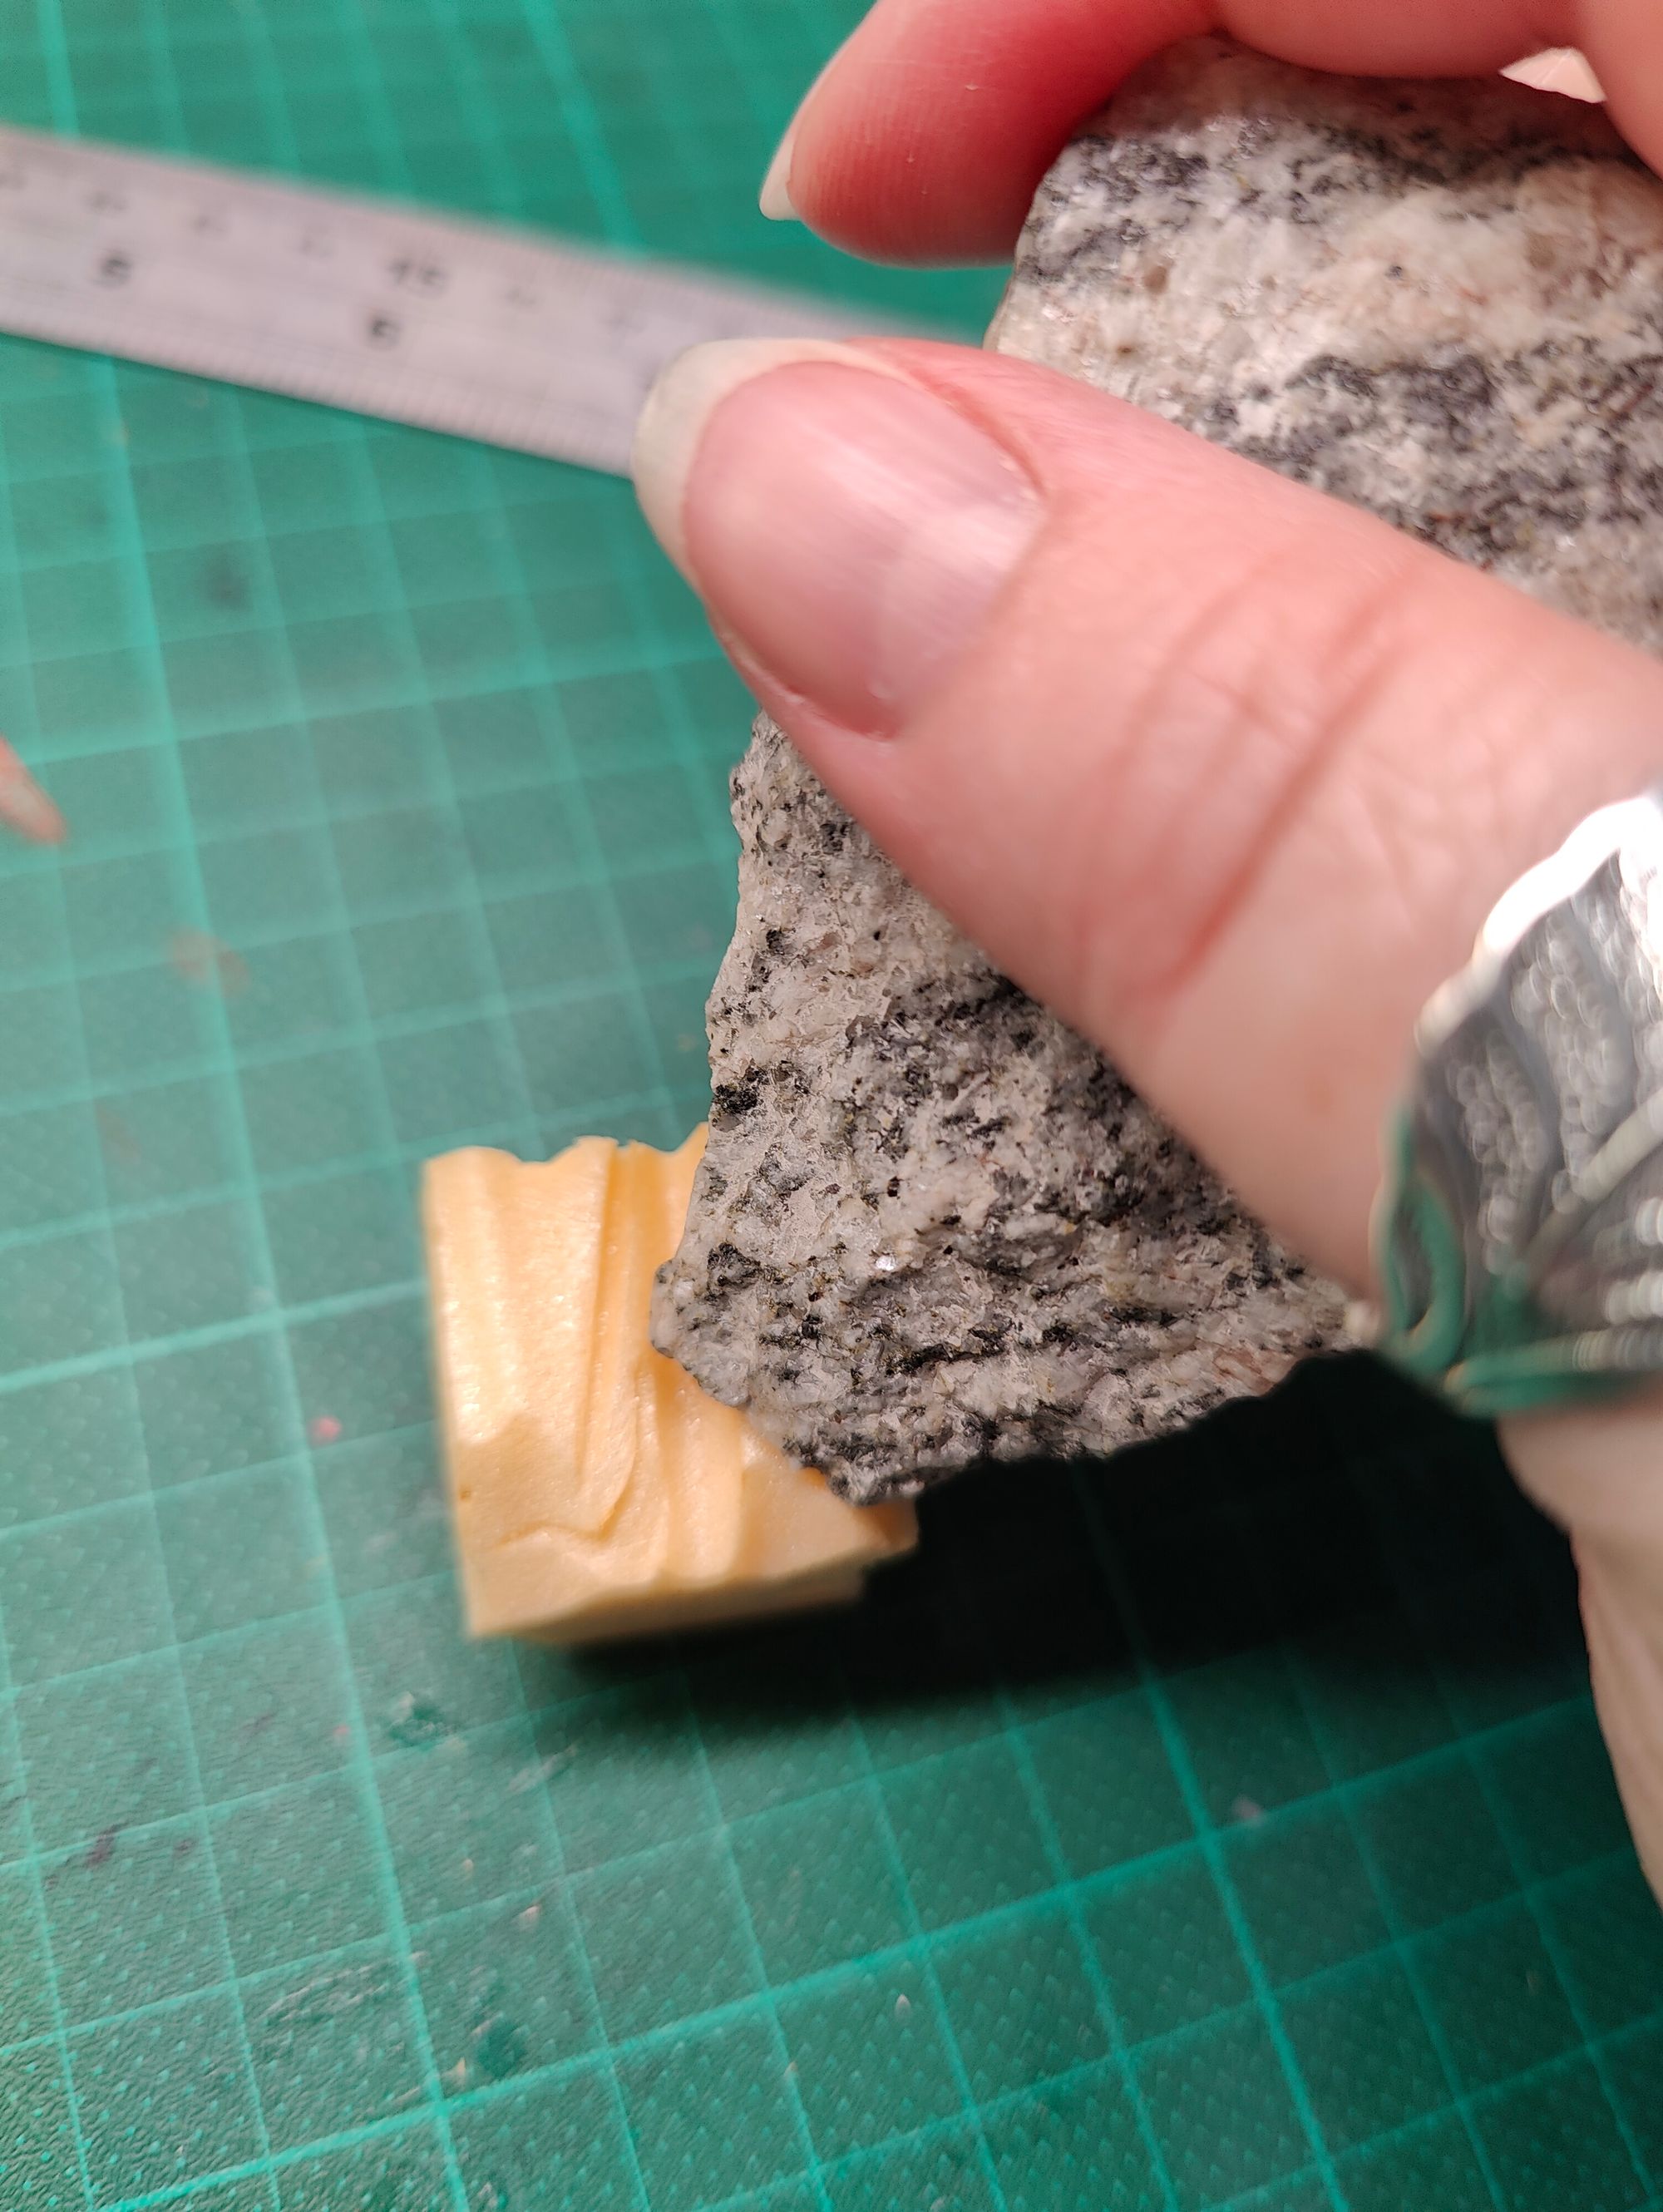
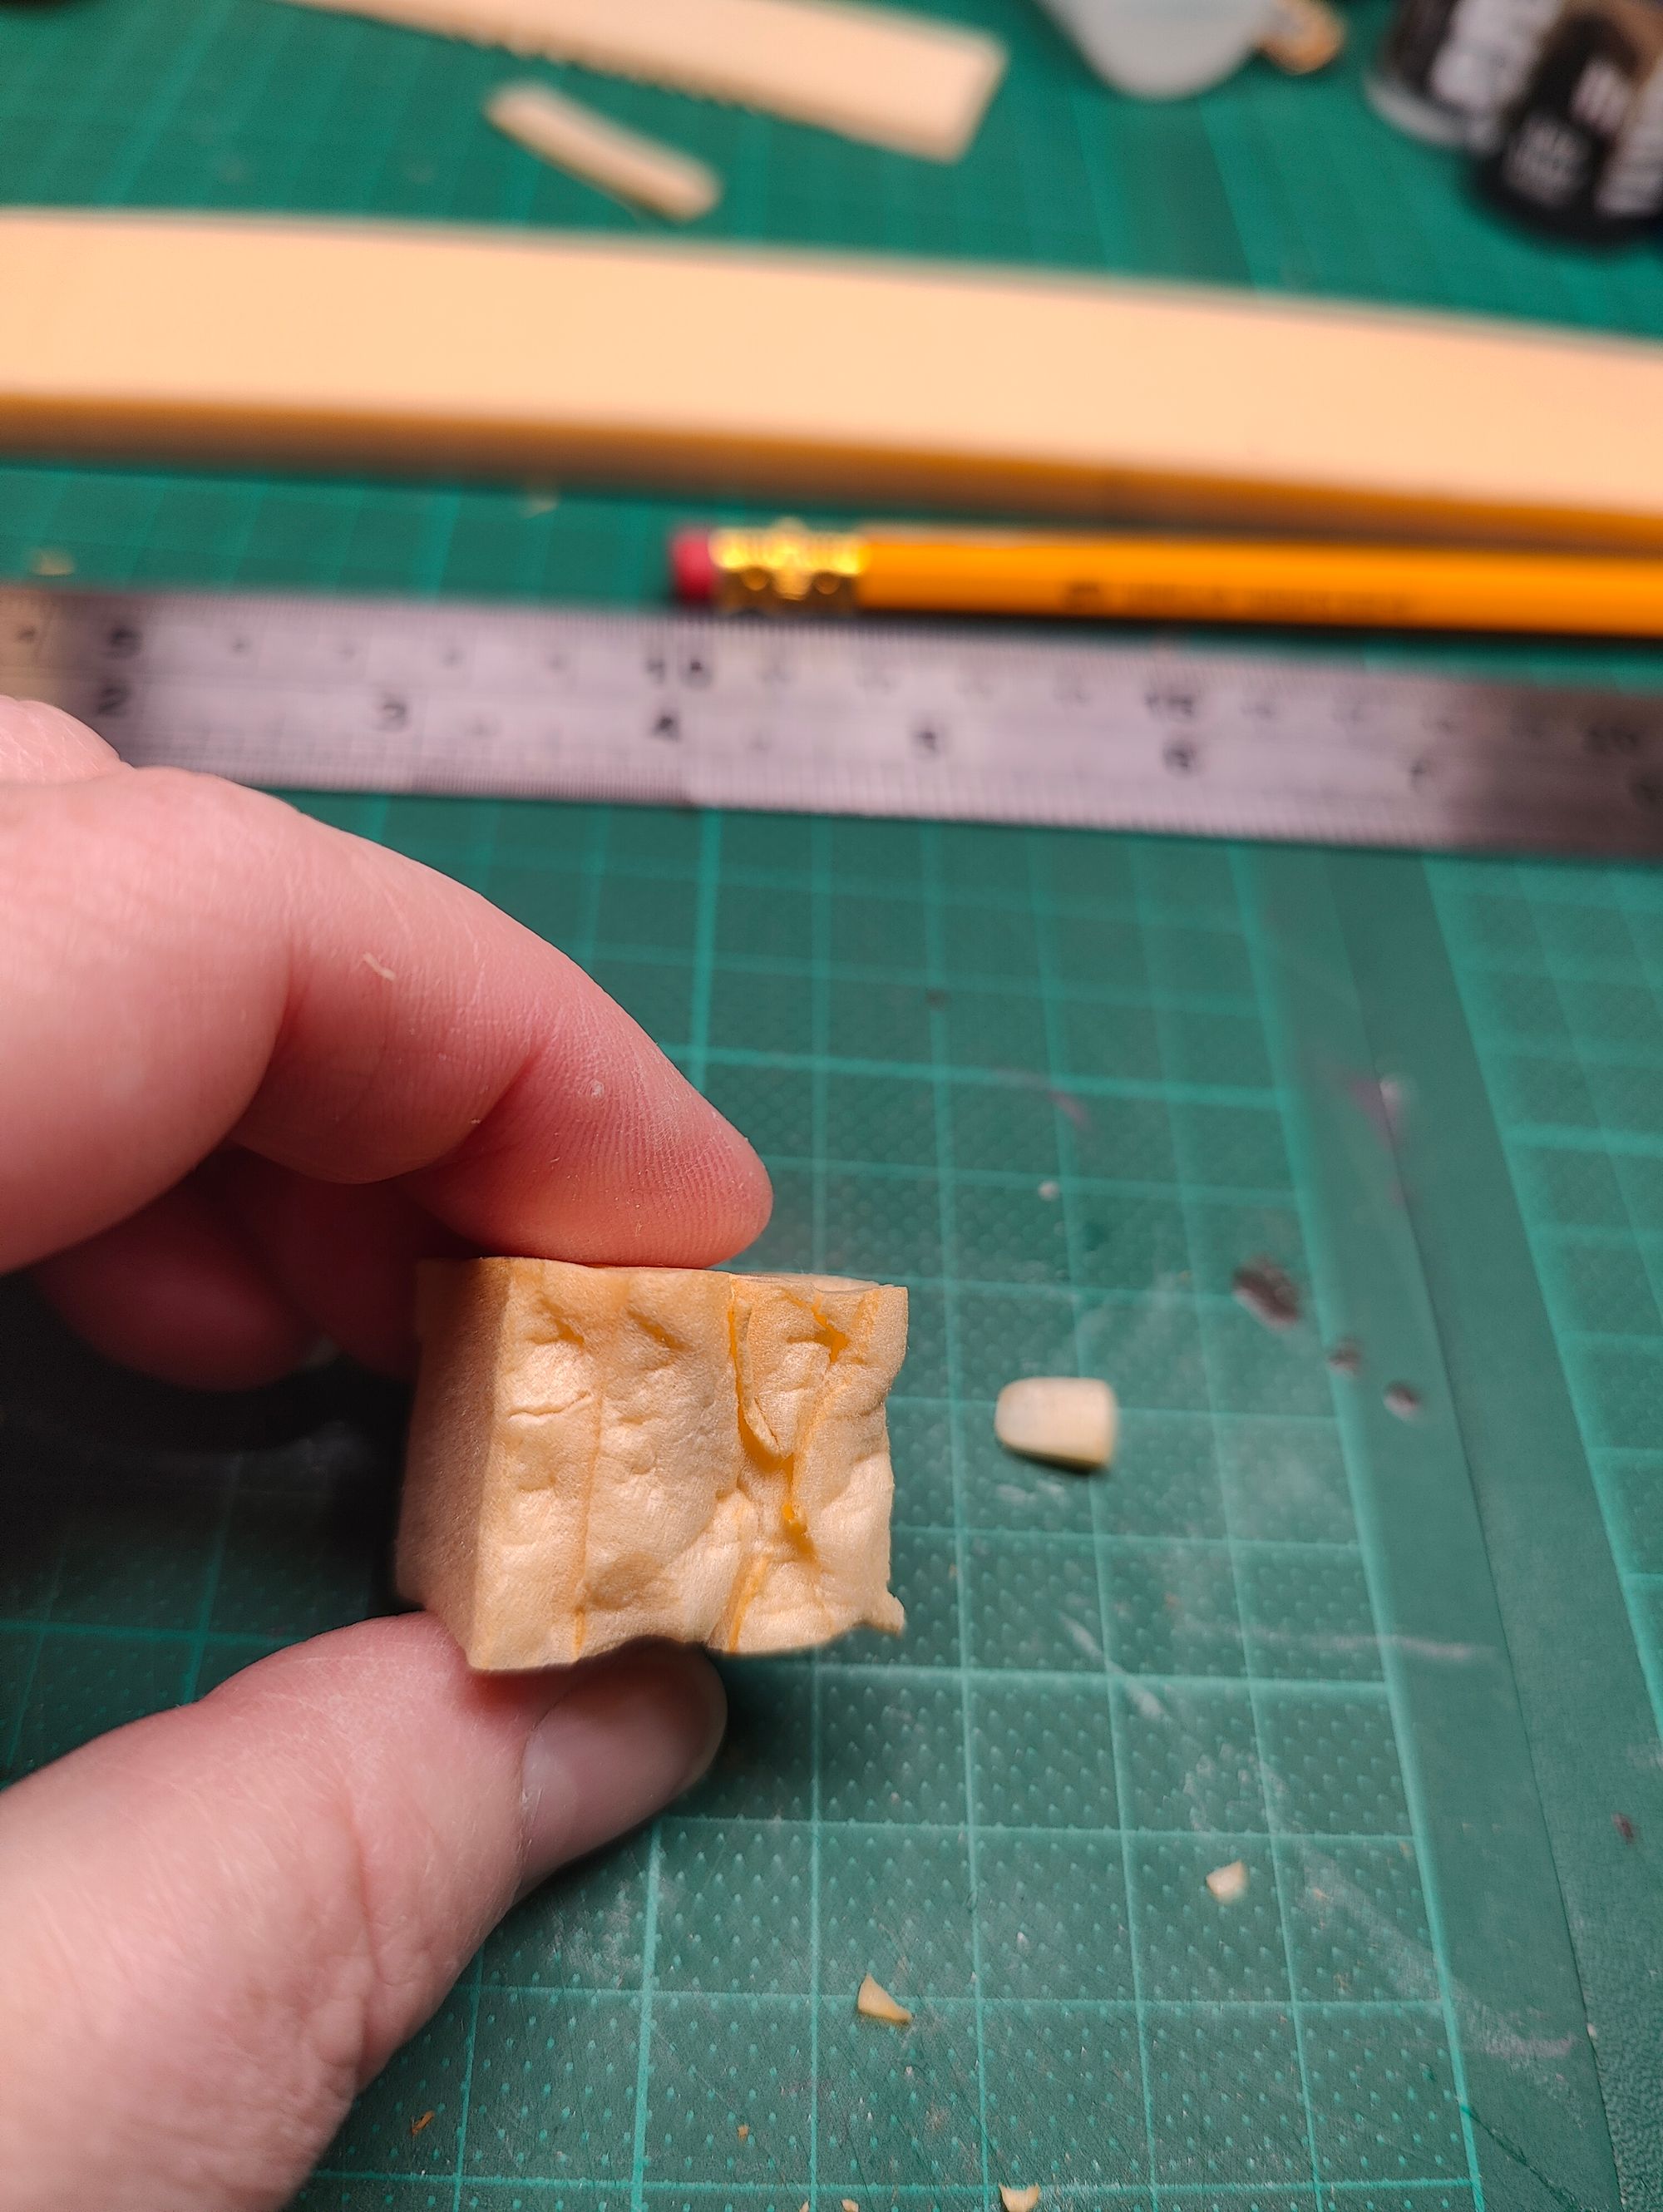
I then took what felt like the next ten years of my life, to draw texture lines creating a rock wall, depressing some areas and digging over others with the tip of my knife. Once the flat surface was textured I cut 1x1.5 inch blocks to represent the stone steps. Leaving one surface flat to stick to the rock wall I used the Proxxon to cut texture into the rest of the sides. Finishing by using a rock to add fine texture over this. These ‘steps’ were then stuck to the surface of the wall in zig zag stair pattern and the whole thing base coated in black.
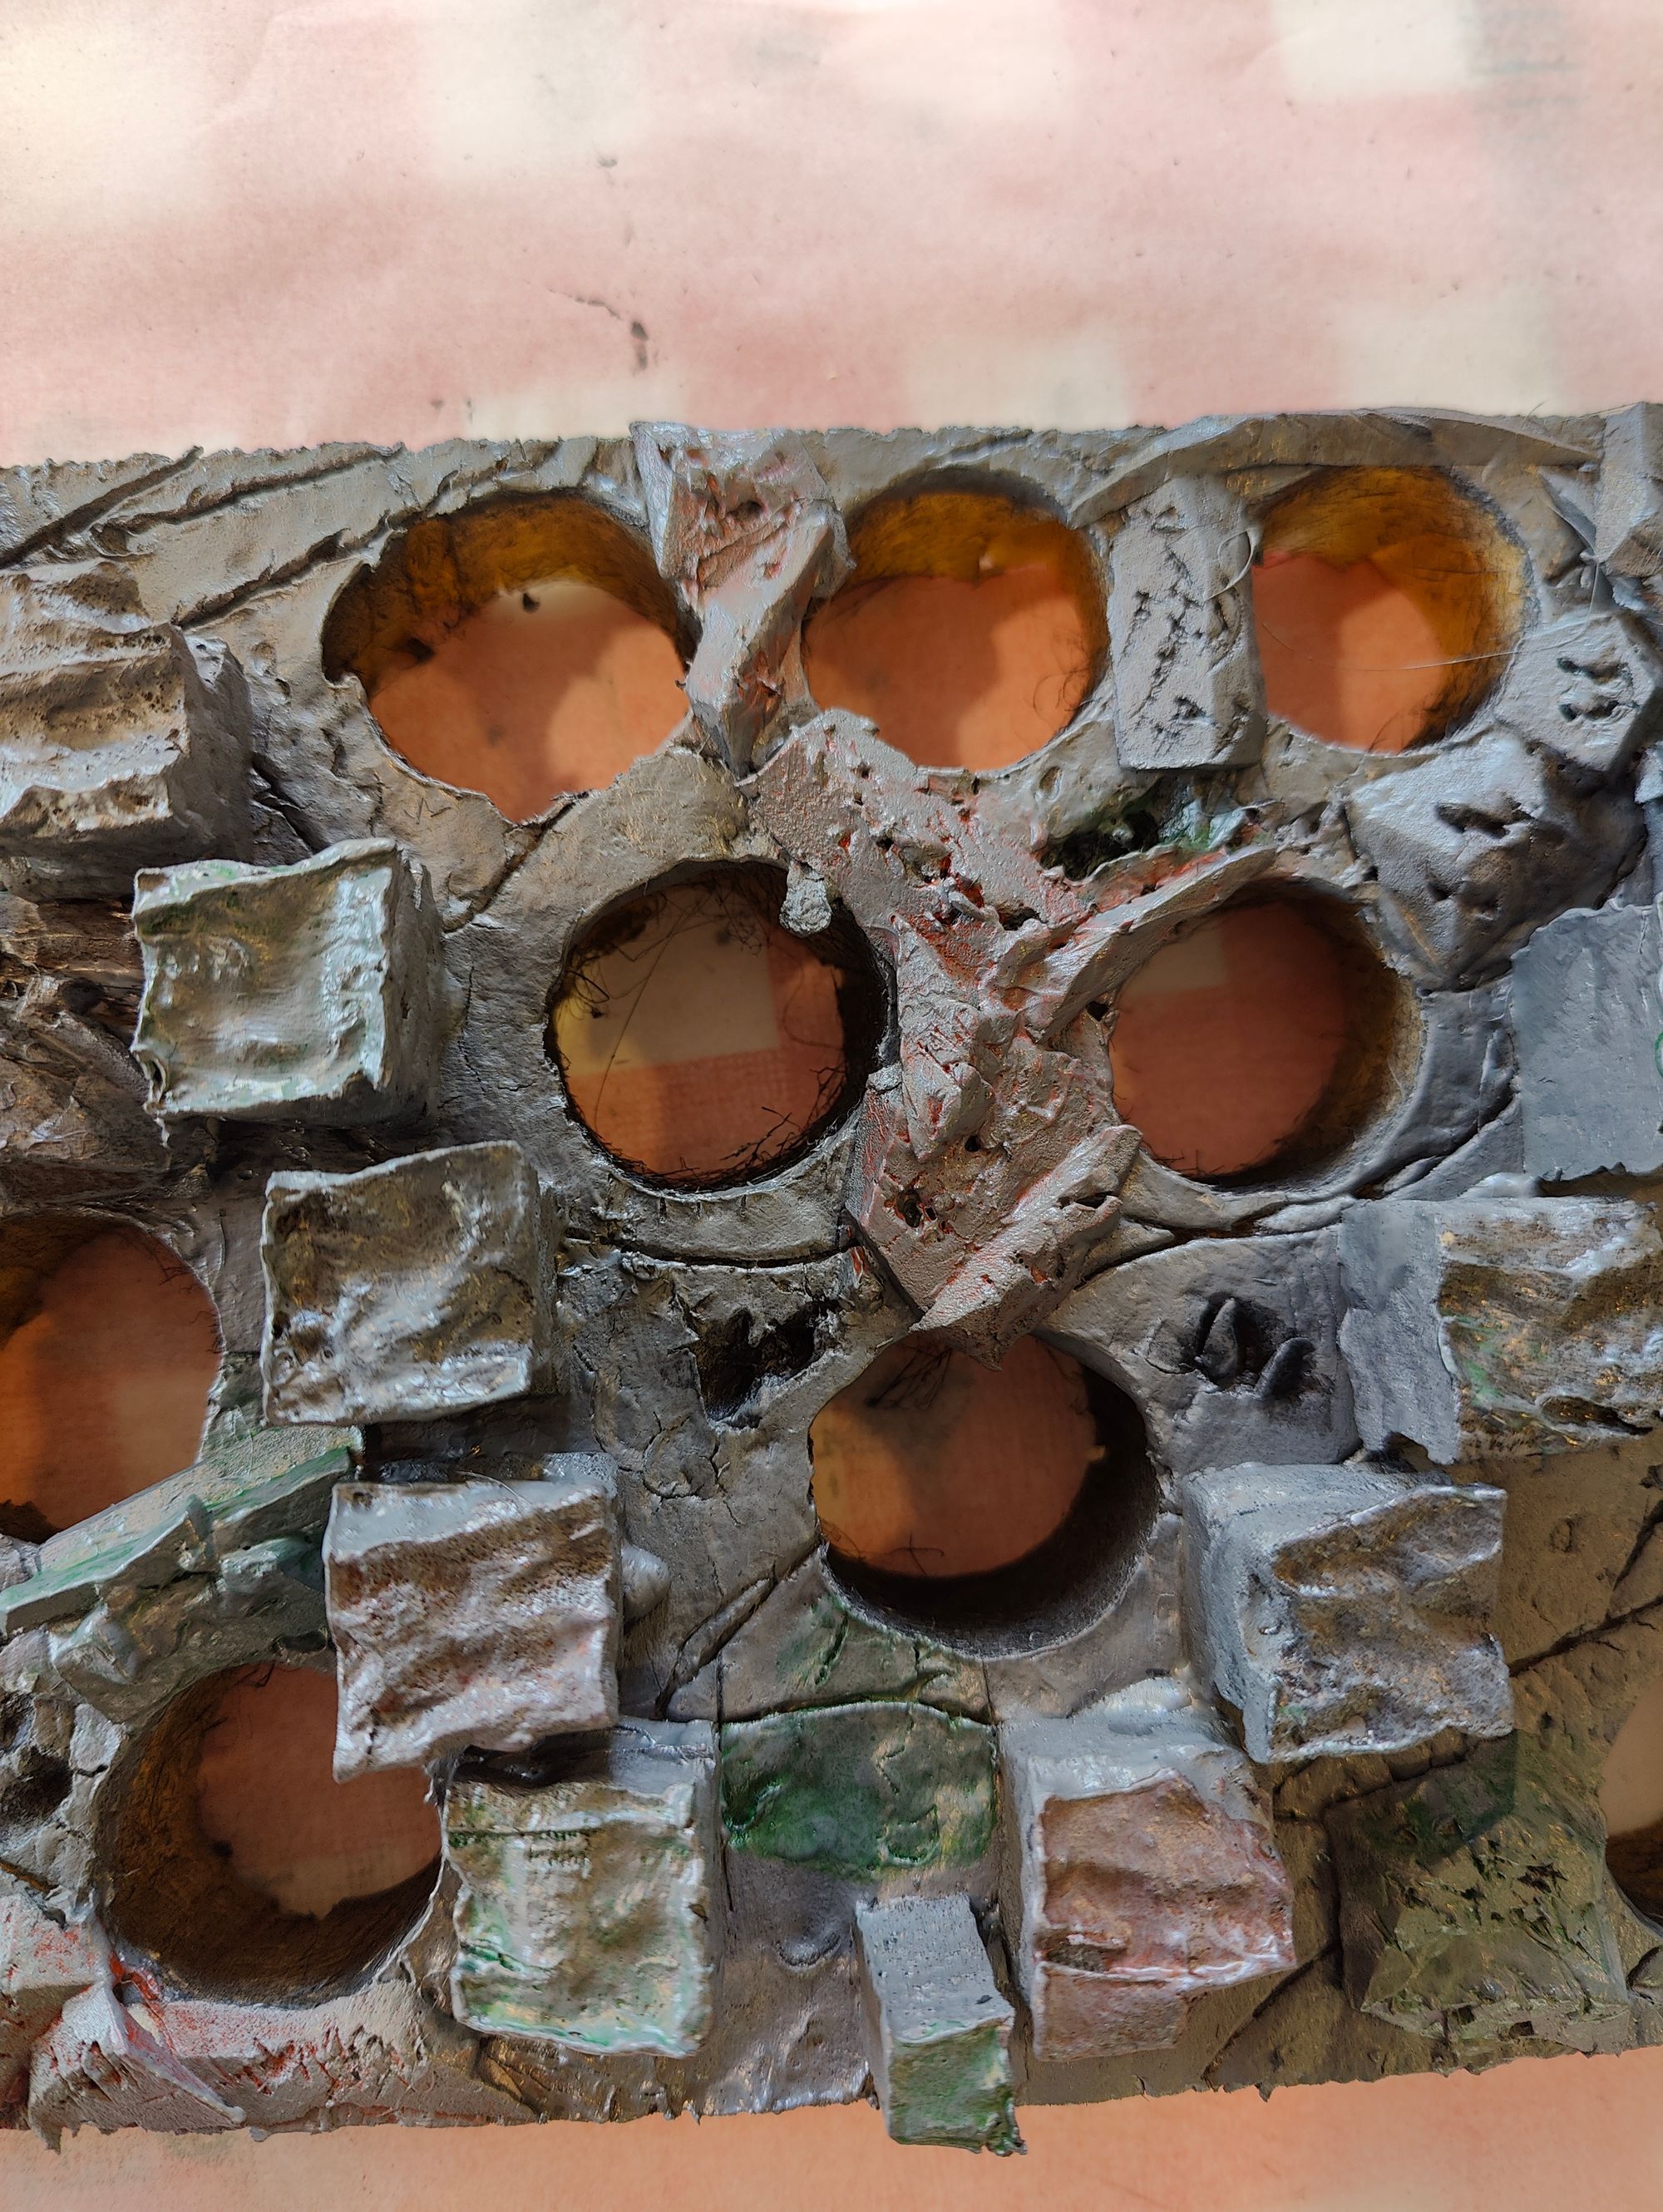
Once the black had dried I over brushed in grey. The wall looked very pedestrian so I cut up some off cuts of XPS foam and stuck them randomly over the piece to add more texture and this finally gave a more mountainous look.
The colour was functional but boring so I added colour and this is always the point that it looks like I’ve borrowed a 5 year old to help me paint. I added a brick red, some black to the recesses and some green. To bring it together there was another over brush in grey.
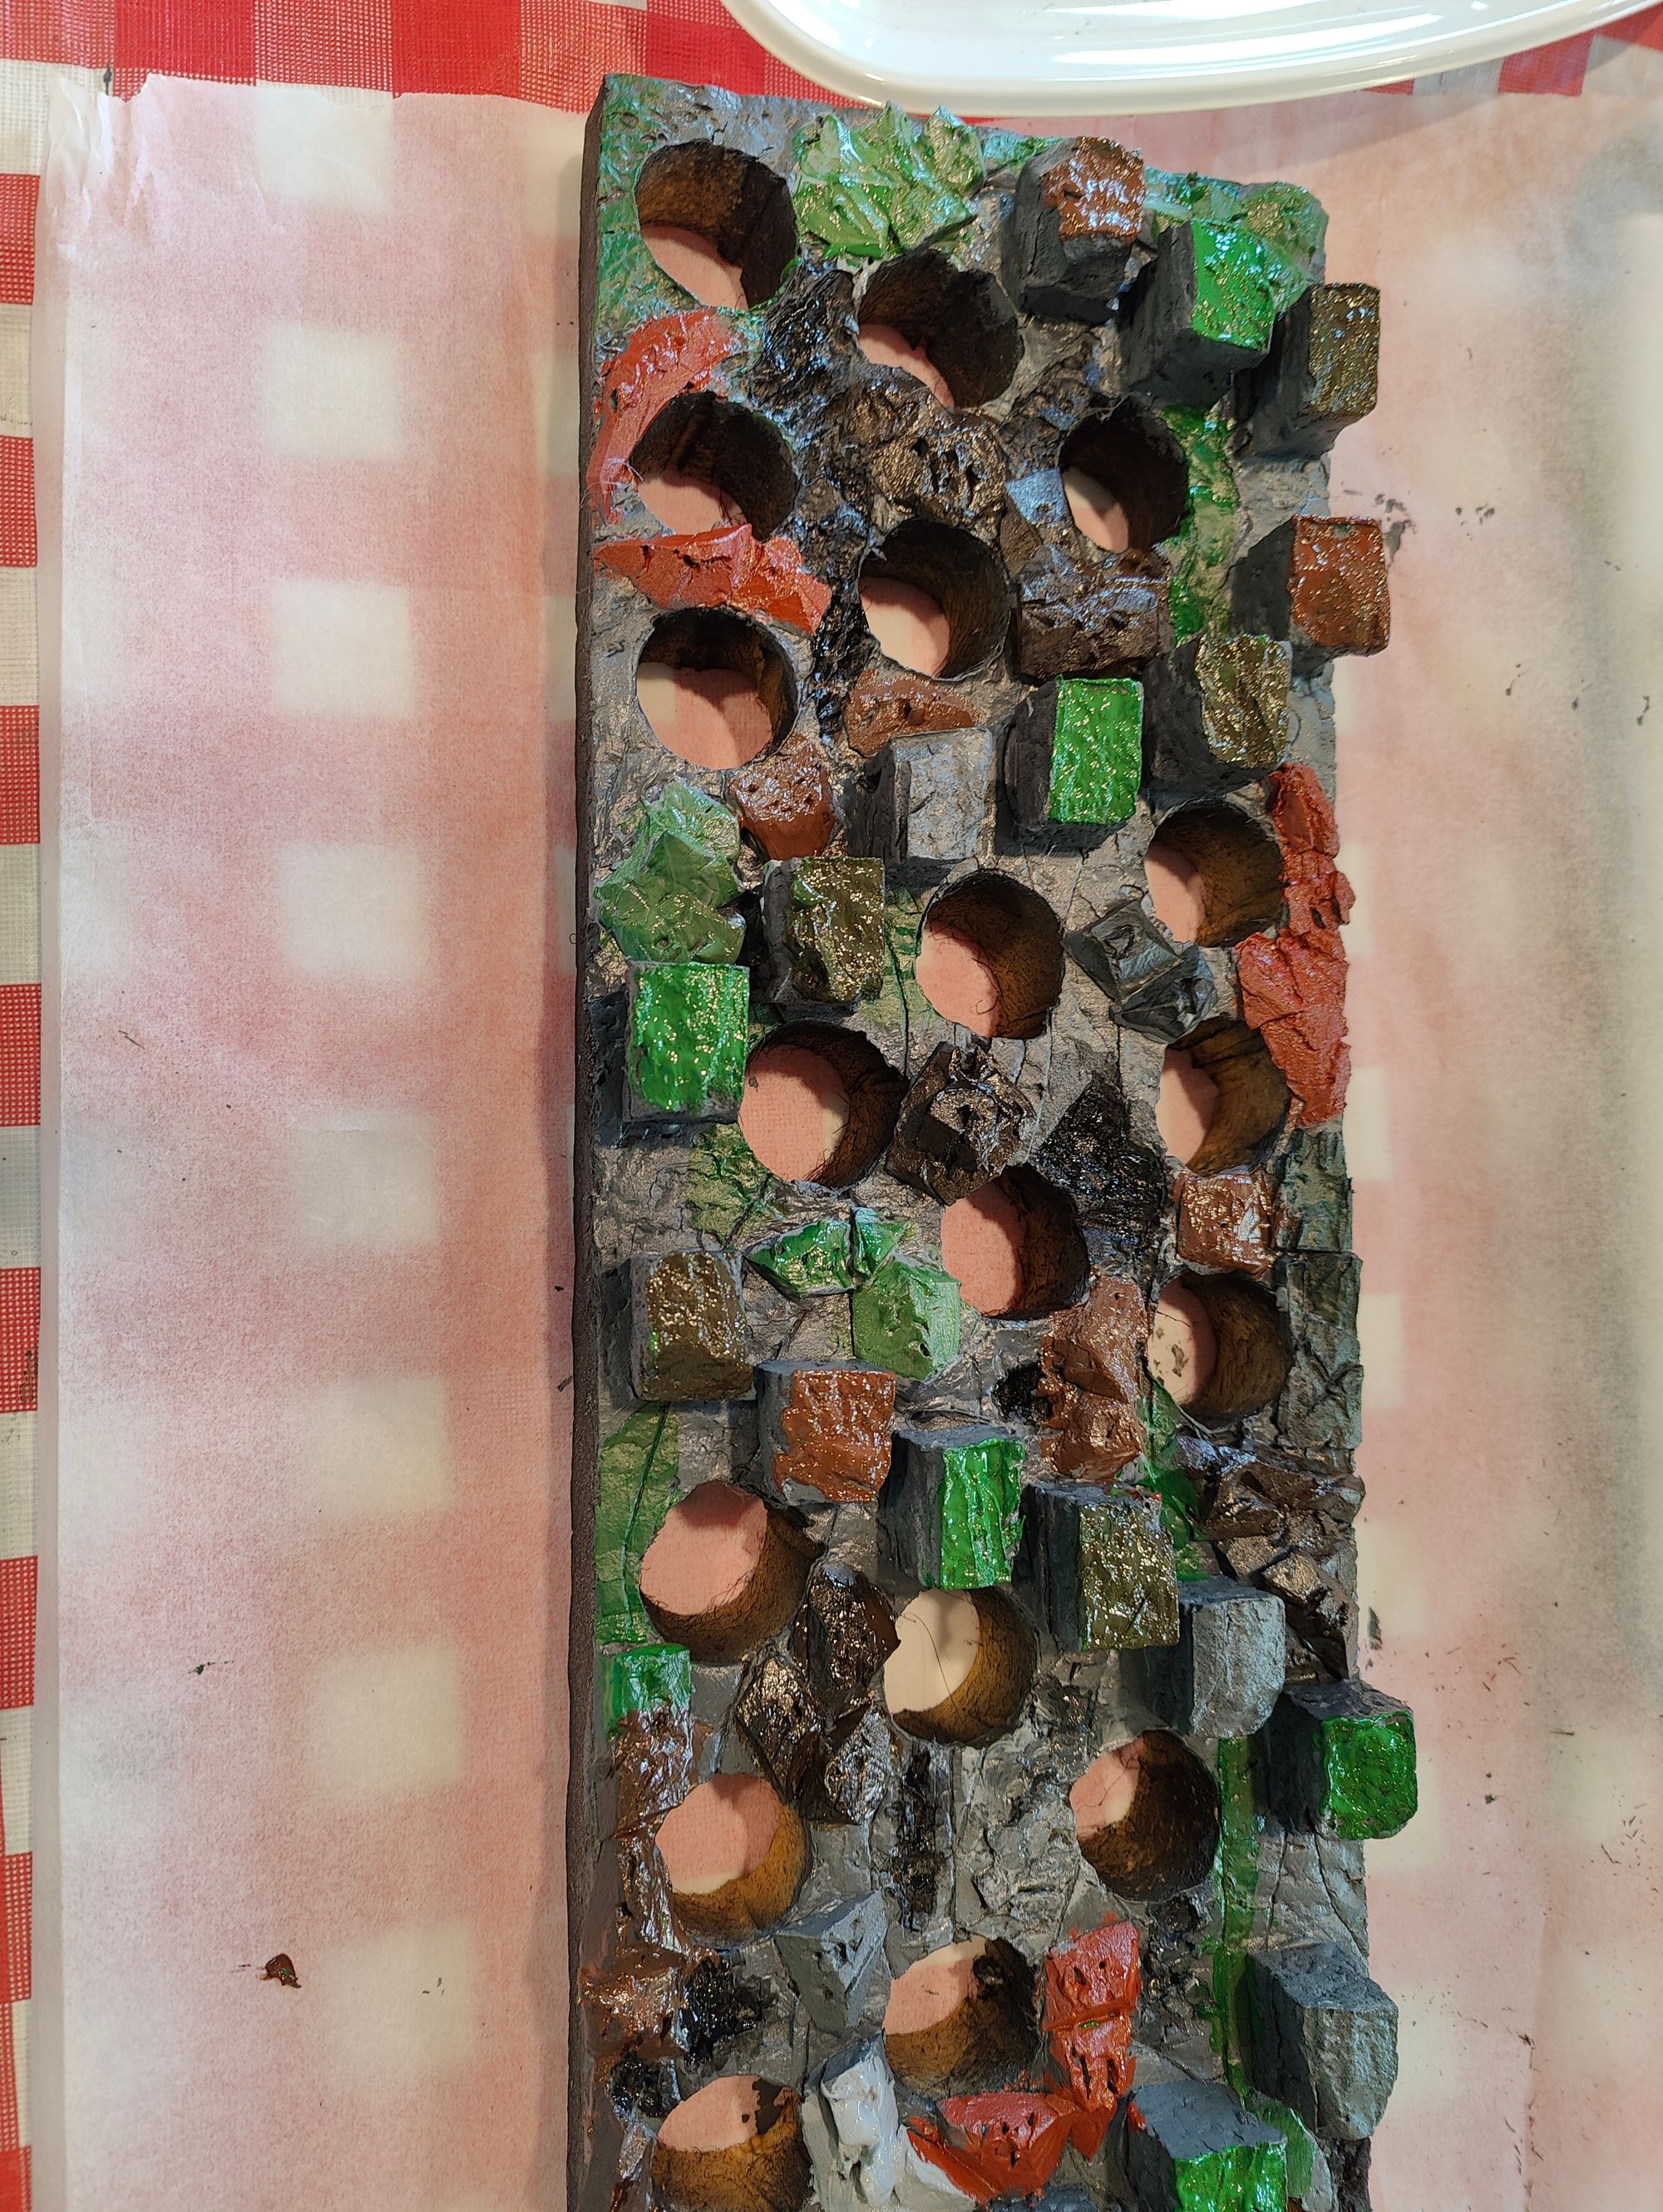
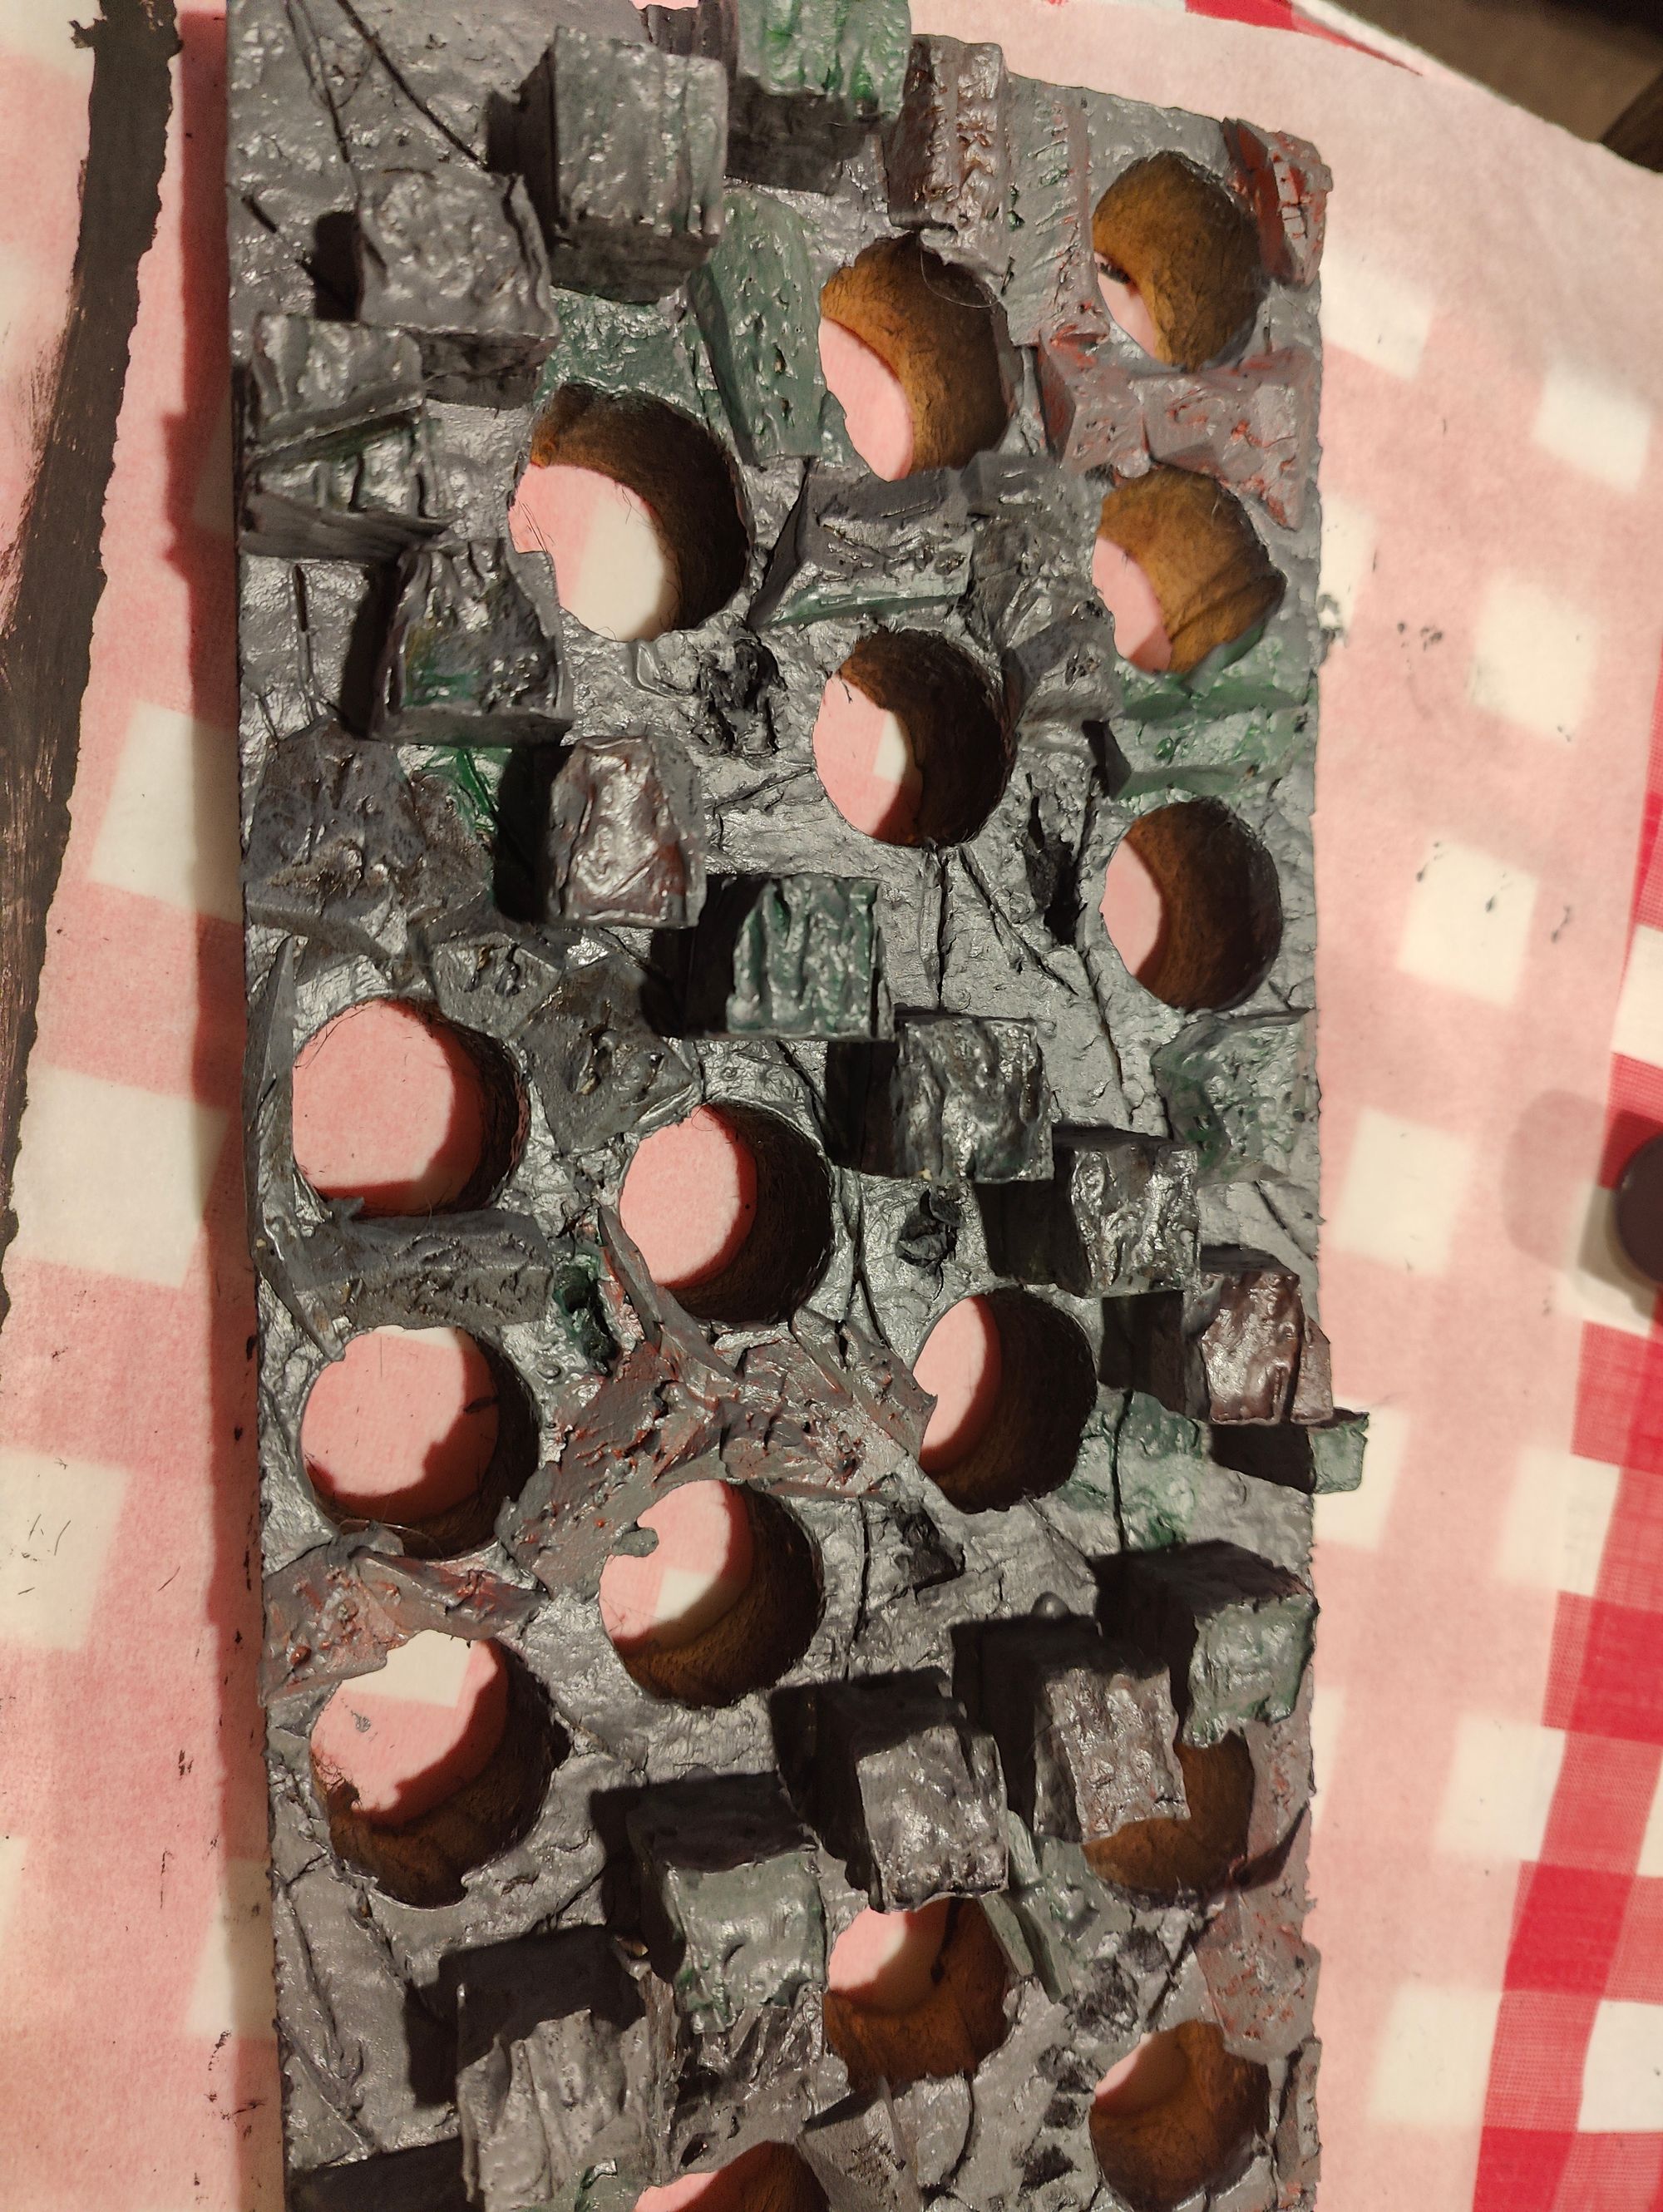
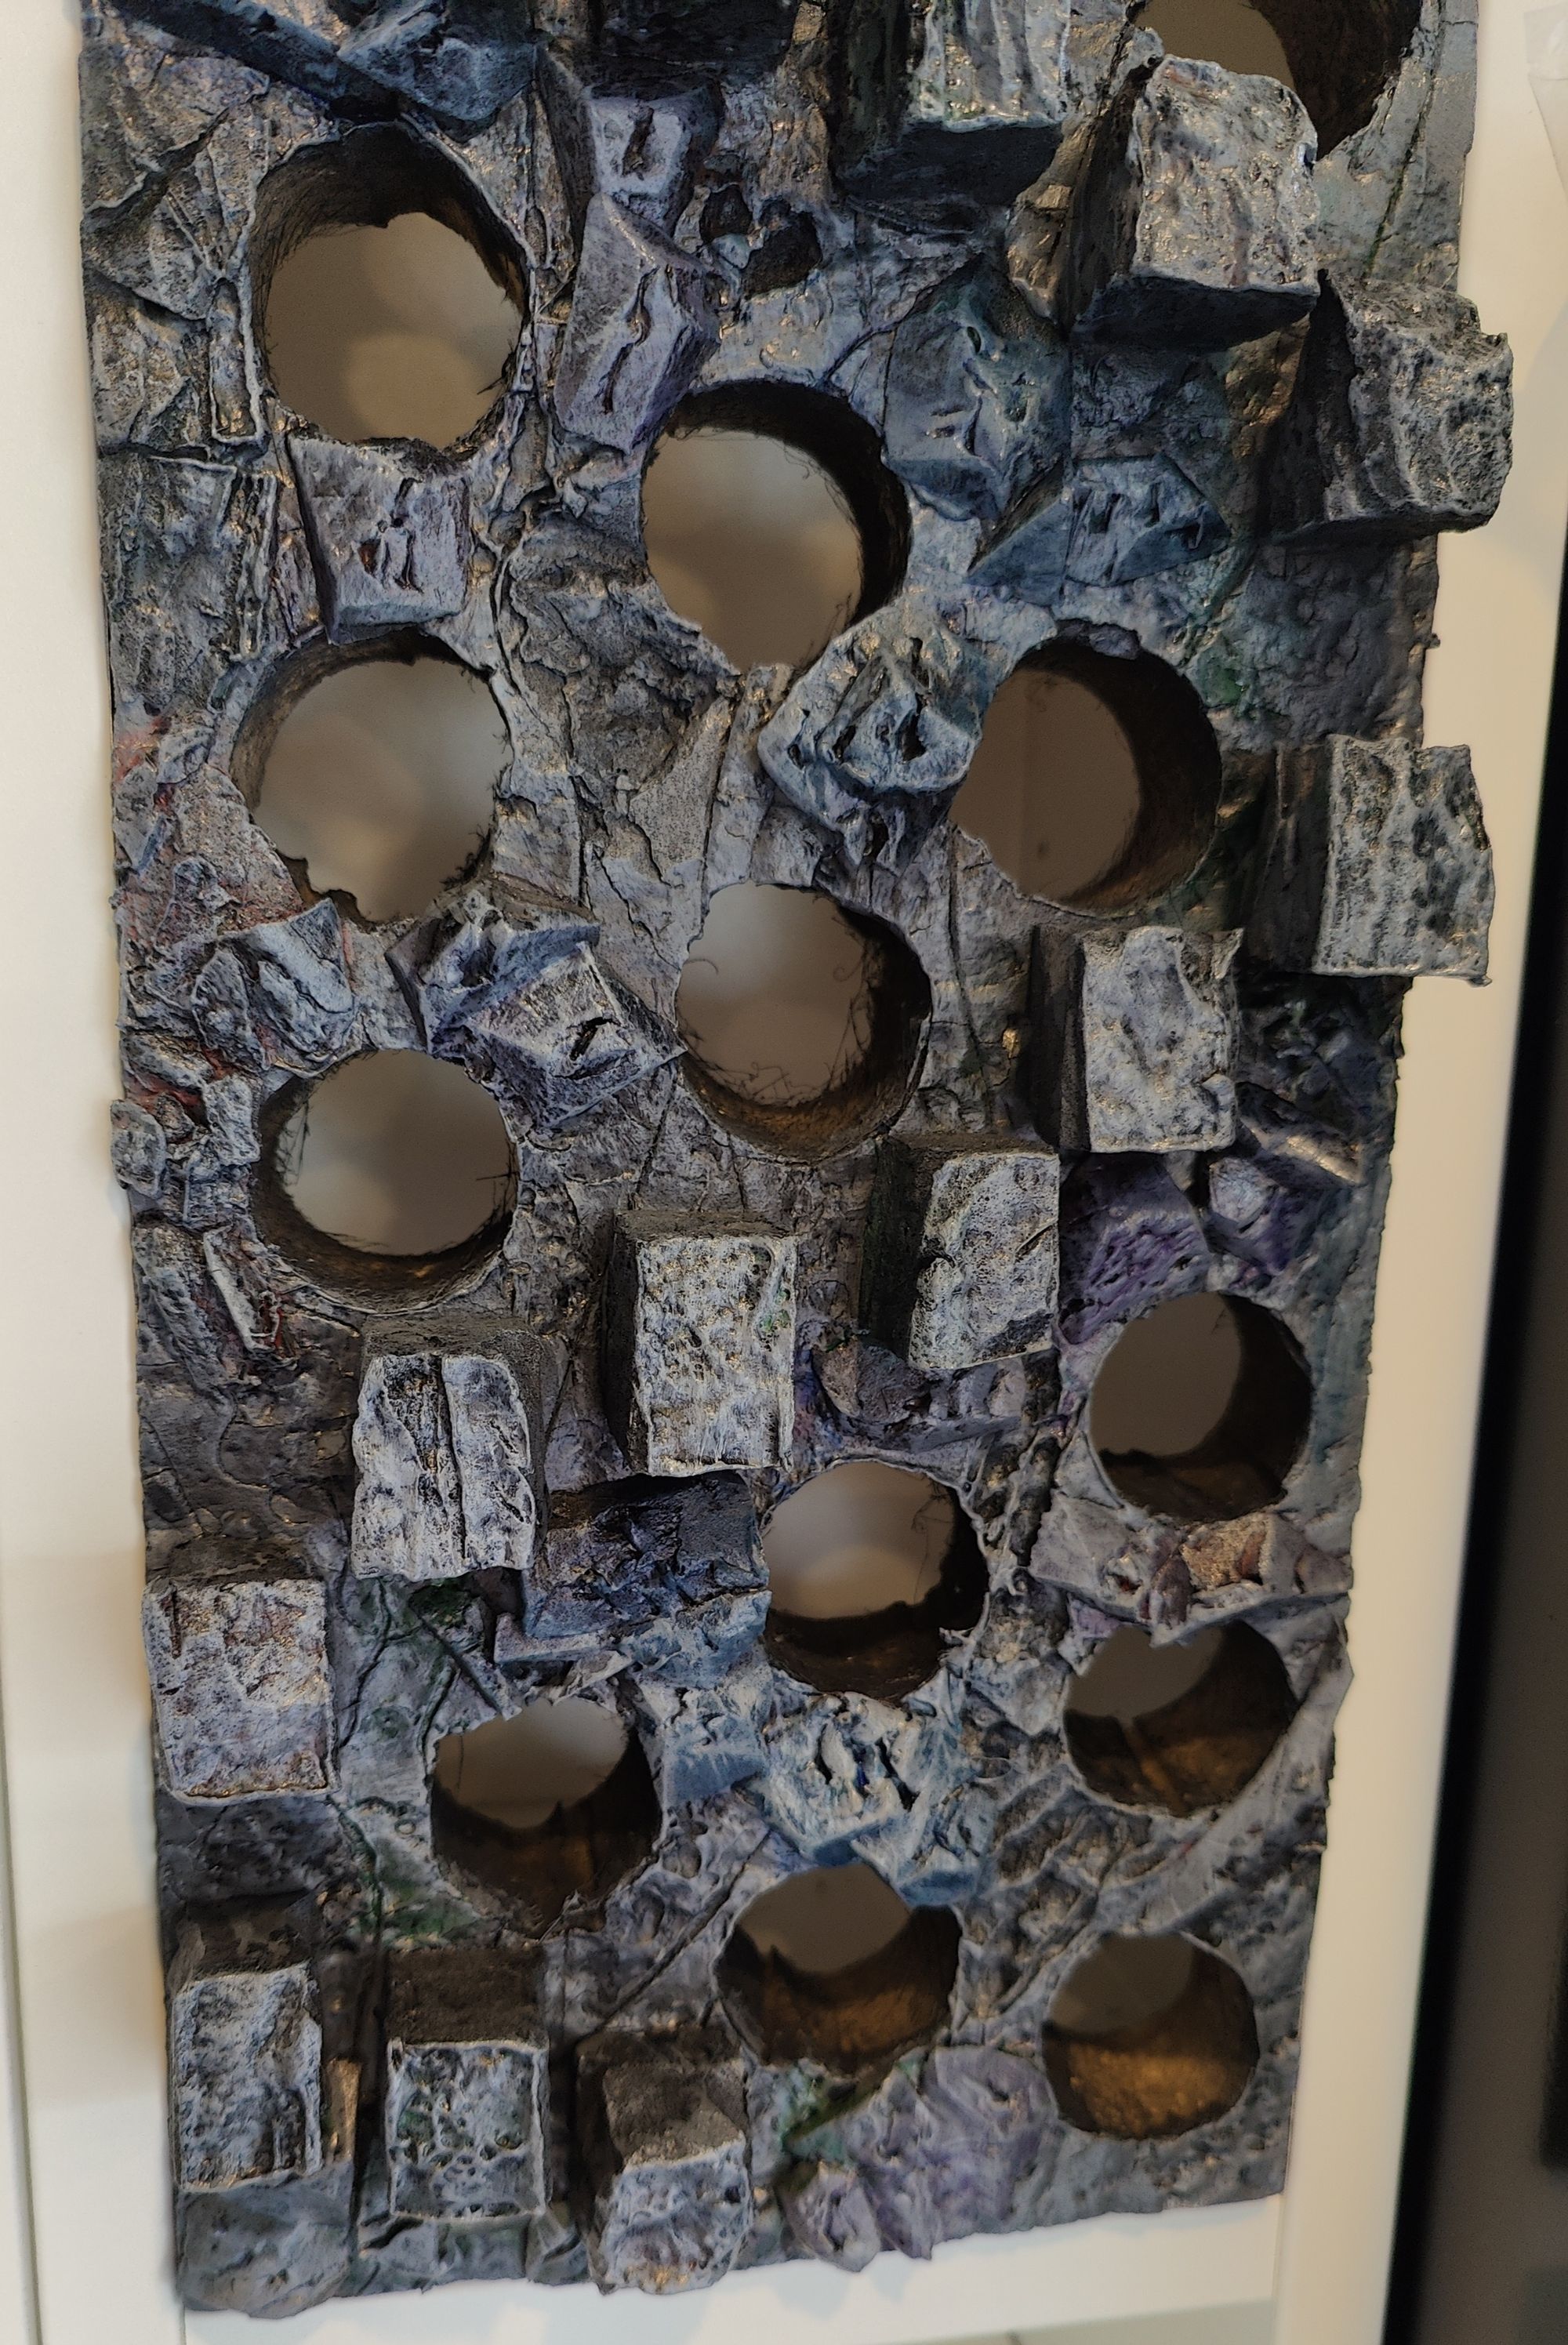
It was looking good at this point so I black washed with acrylic to finish it off. I’m not sure what went wrong here, I used the same black wash as was used for the tower, it was left over. The result was a completely black wall.
In an attempt to rescue it I over brushed in grey (again) and used some inks in washes, green, purple and brown. It looked good again at this stage but still needed to be brought together. This was accomplished with a light grey dry brush.
Once the finished wall was in place it looked a lot darker than when on the hobby desk. Finally I used highlight dry brush in white with the tiniest amount of grey mixed in whilst it was in situ.
I can’t say I’m too impressed with it in the dark corner, but in lighter areas of the room the colours are more obvious and it looks more like a section of the mountain. Overall I’ve decided to move it to the bottom half of the shelving unit and make the top half next.
The main question is: head or arse first?